Over the past three weeks we have been having a lot of fun caring for our new baby chicks. Come alongside us to read all about the baby chicks and their first few weeks. I include practical tips on caring for a small flock of baby chicks and talk about some challenges we have had to work through. And of course, there are lots of adorable photos!
The Chicks’ Arrival
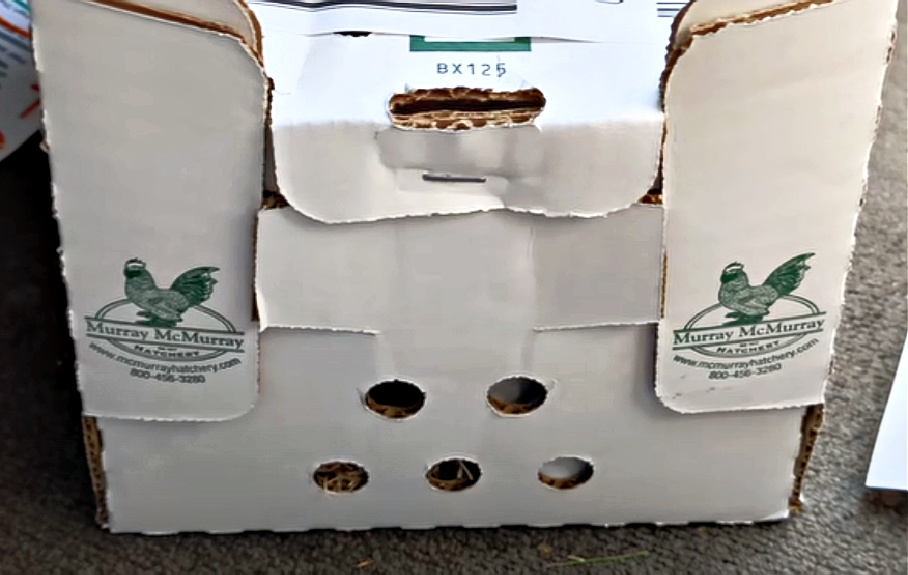
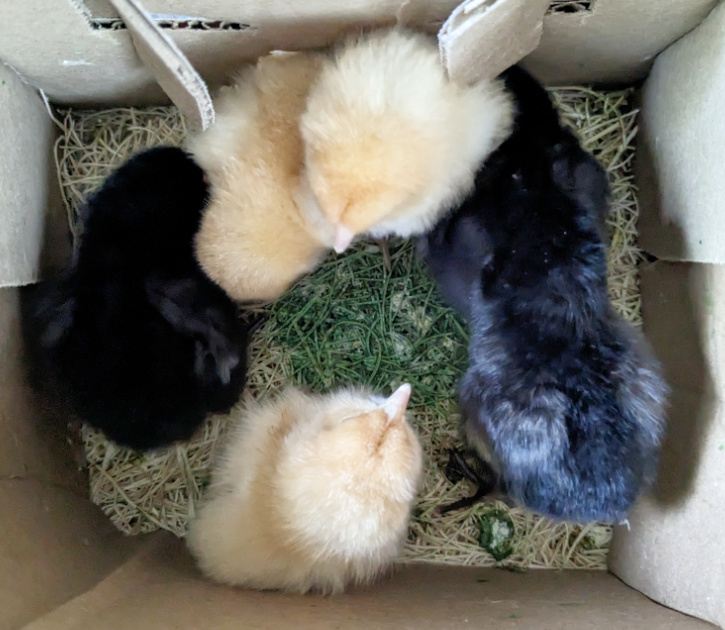
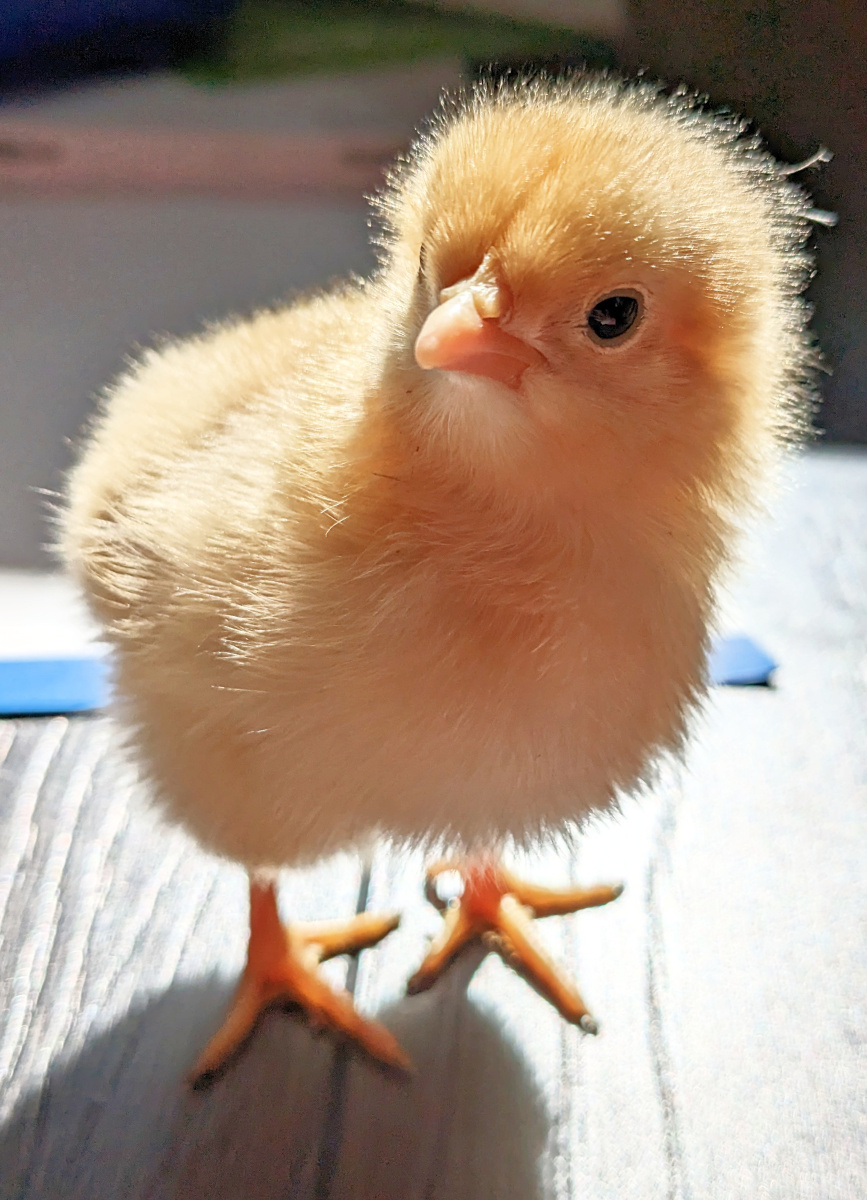
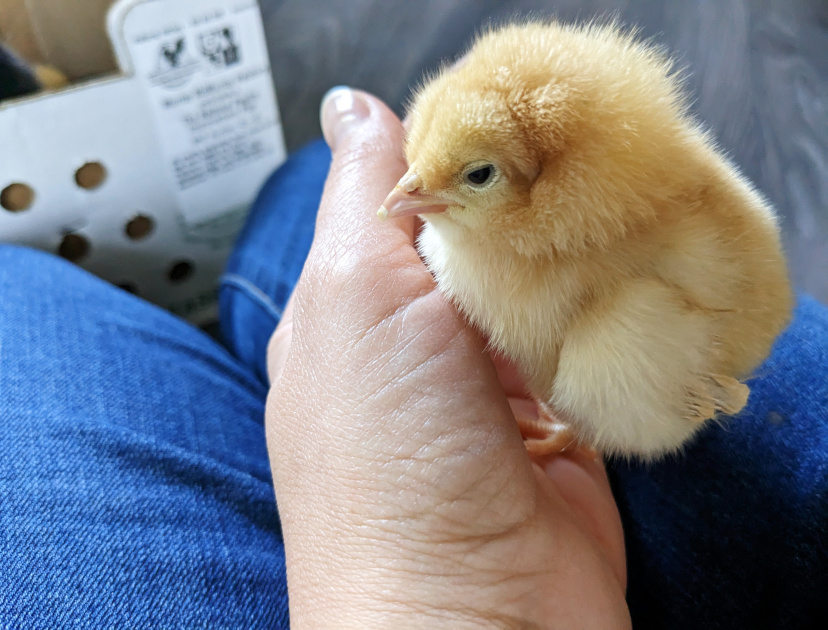
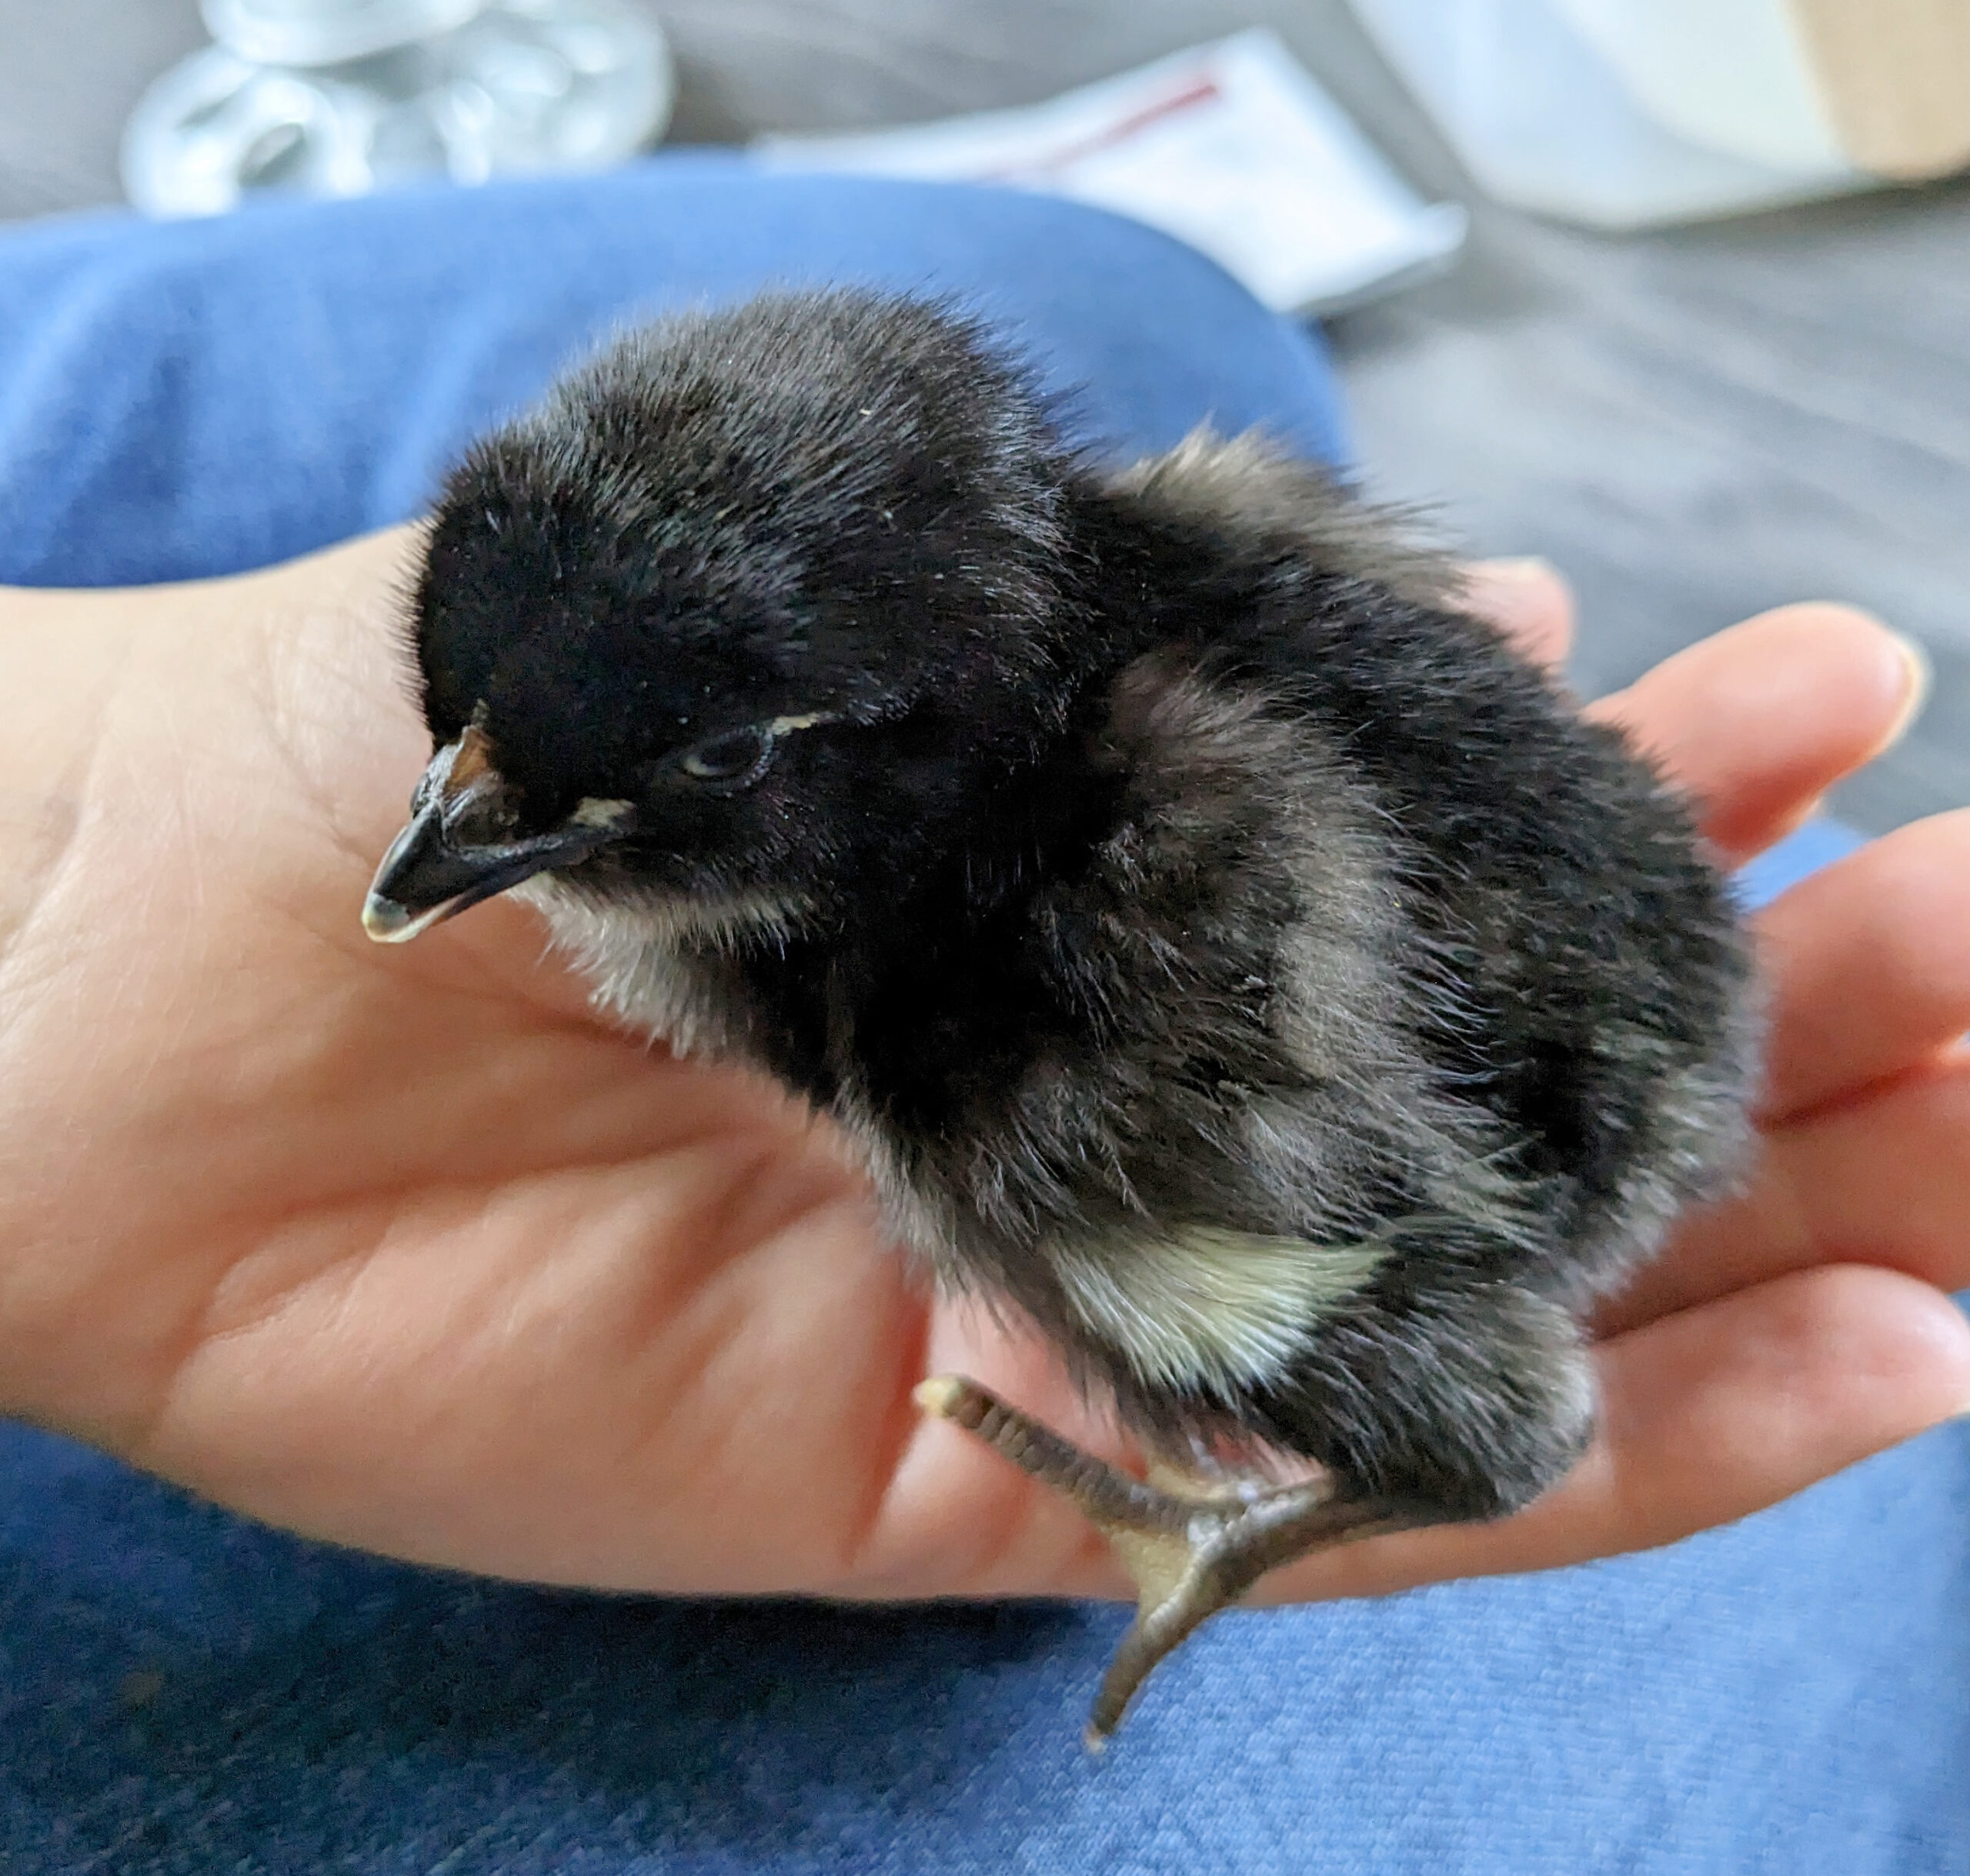
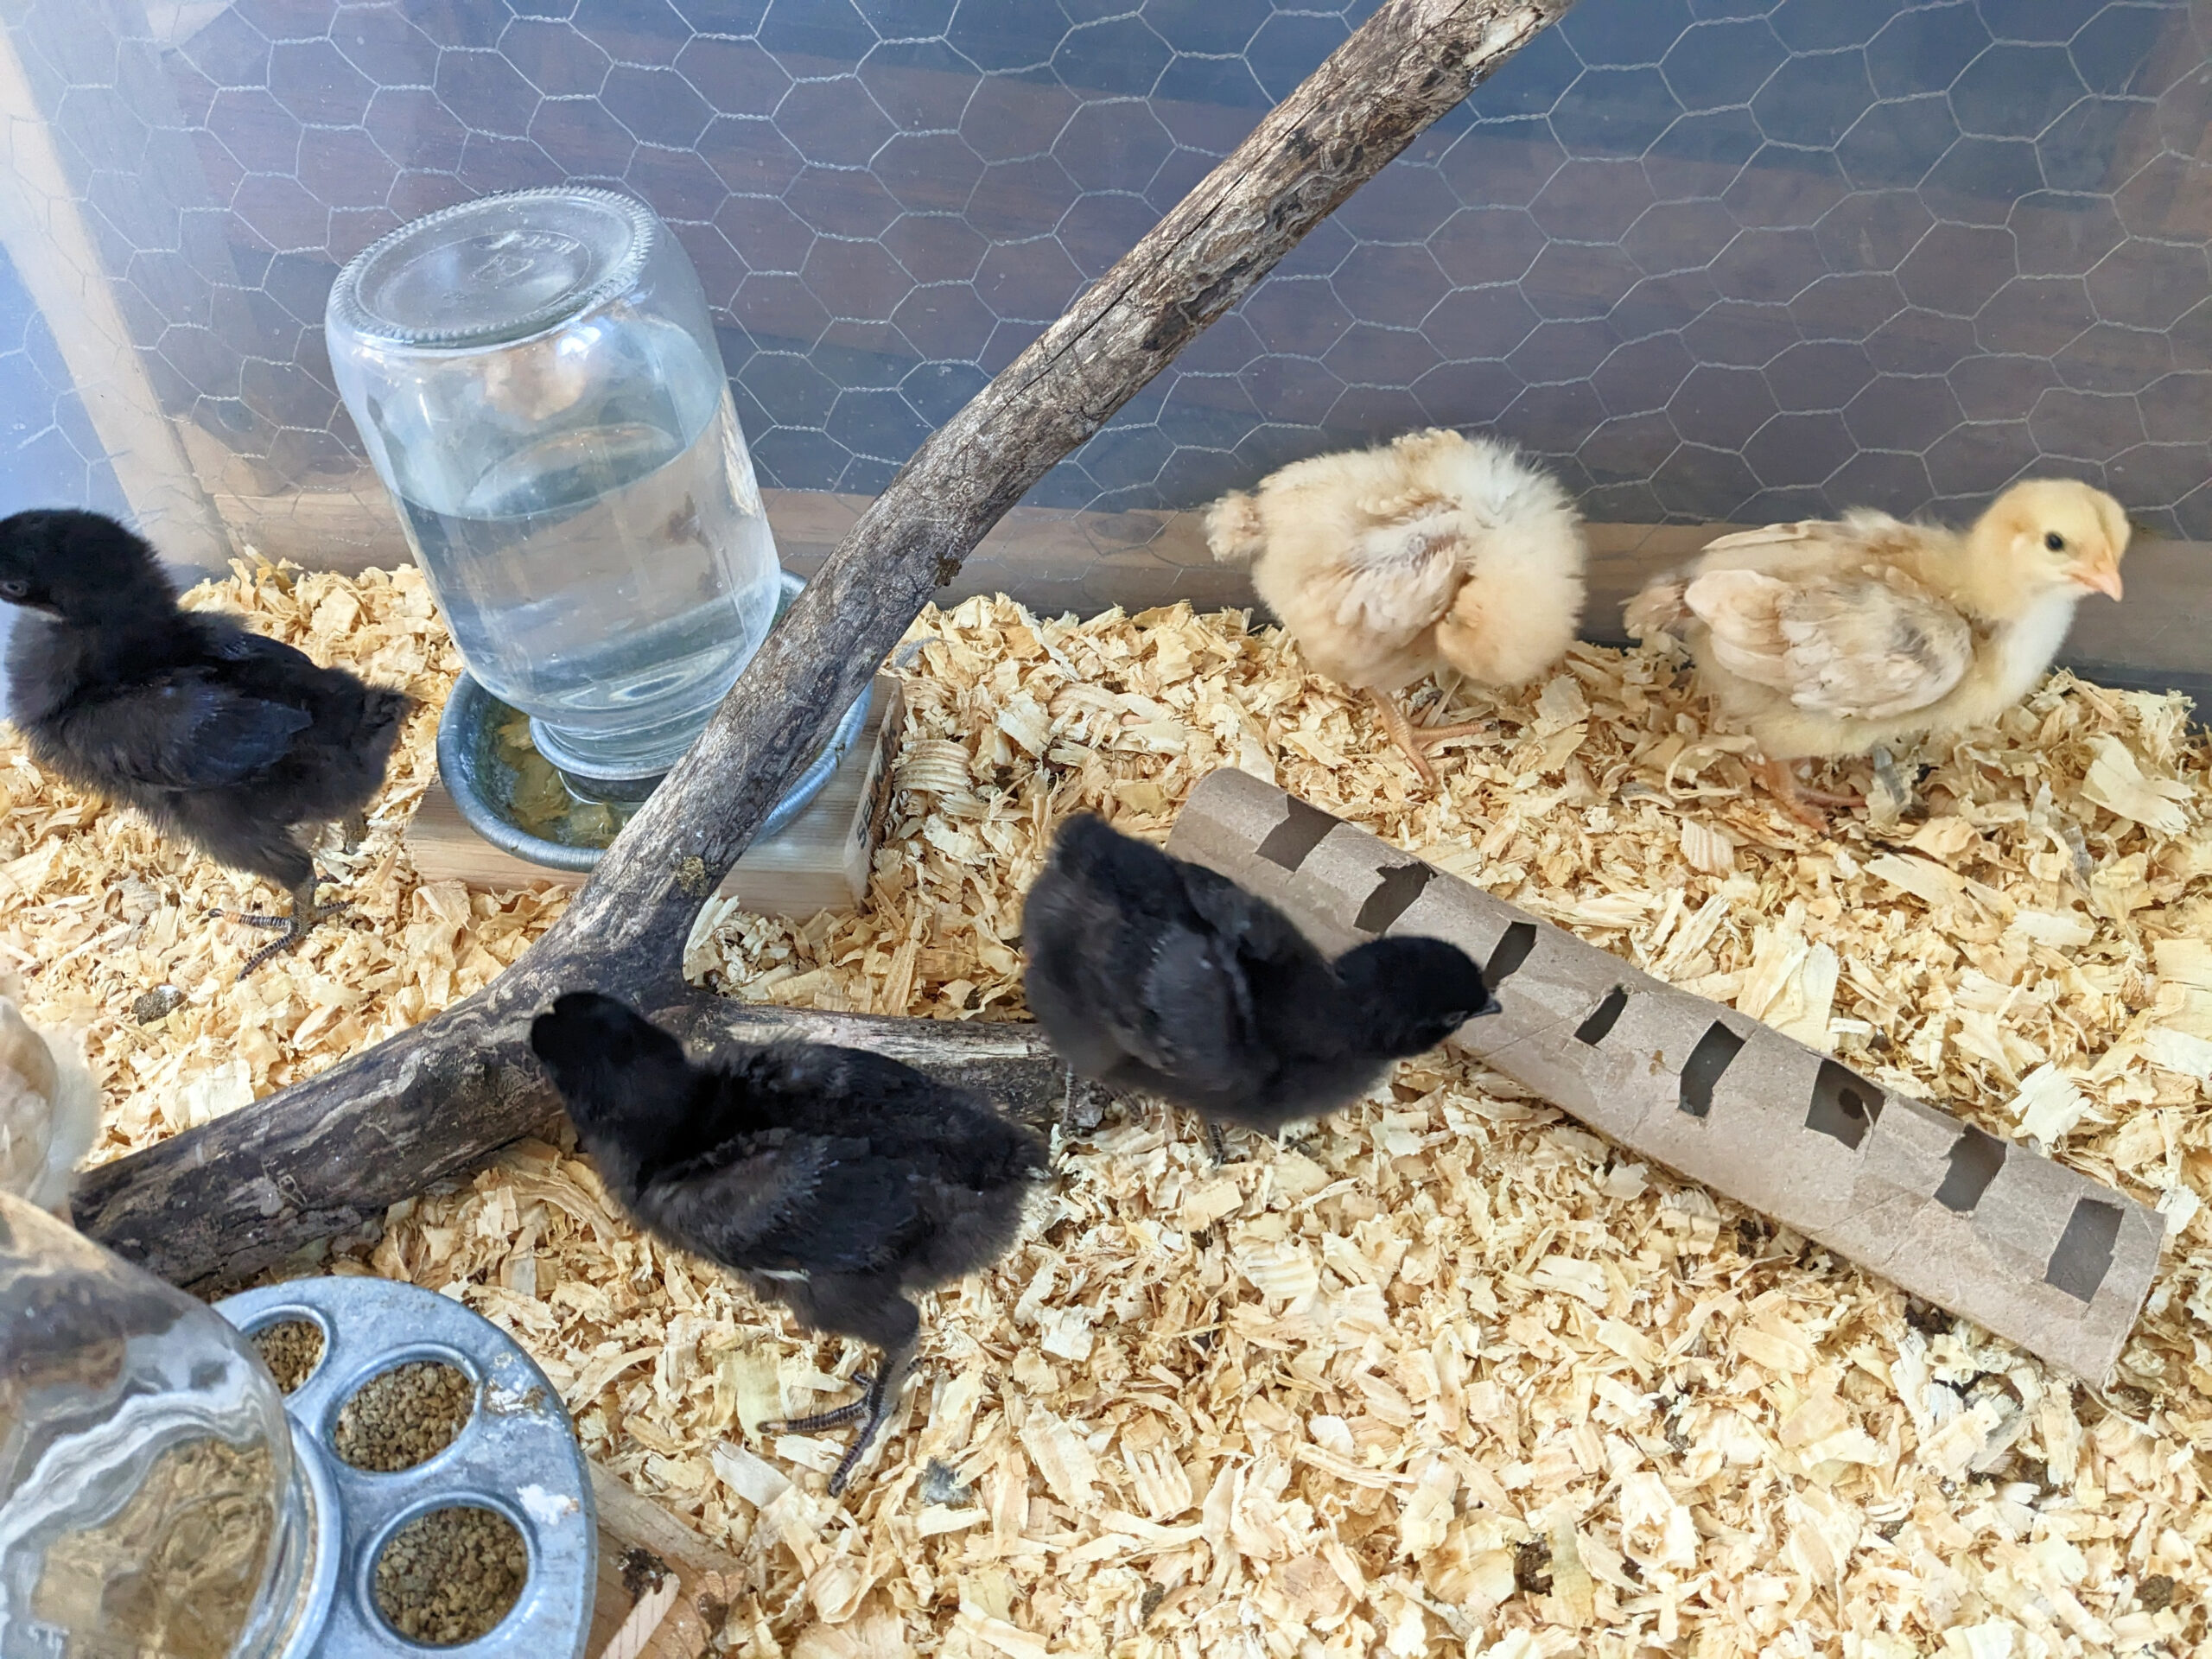
After a sad loss with our last flock of chickens, our new baby chicks arrived by mail at our local post office on May 31st. After getting the phone call I drove to the post office with my son as soon as I was able. I could hear little peeps coming from the back of the post office, so exciting! The mail lady and I peeked in the box together to find 6 healthy baby chicks. I received three Black Star chicks and three Buff Orpington chicks.
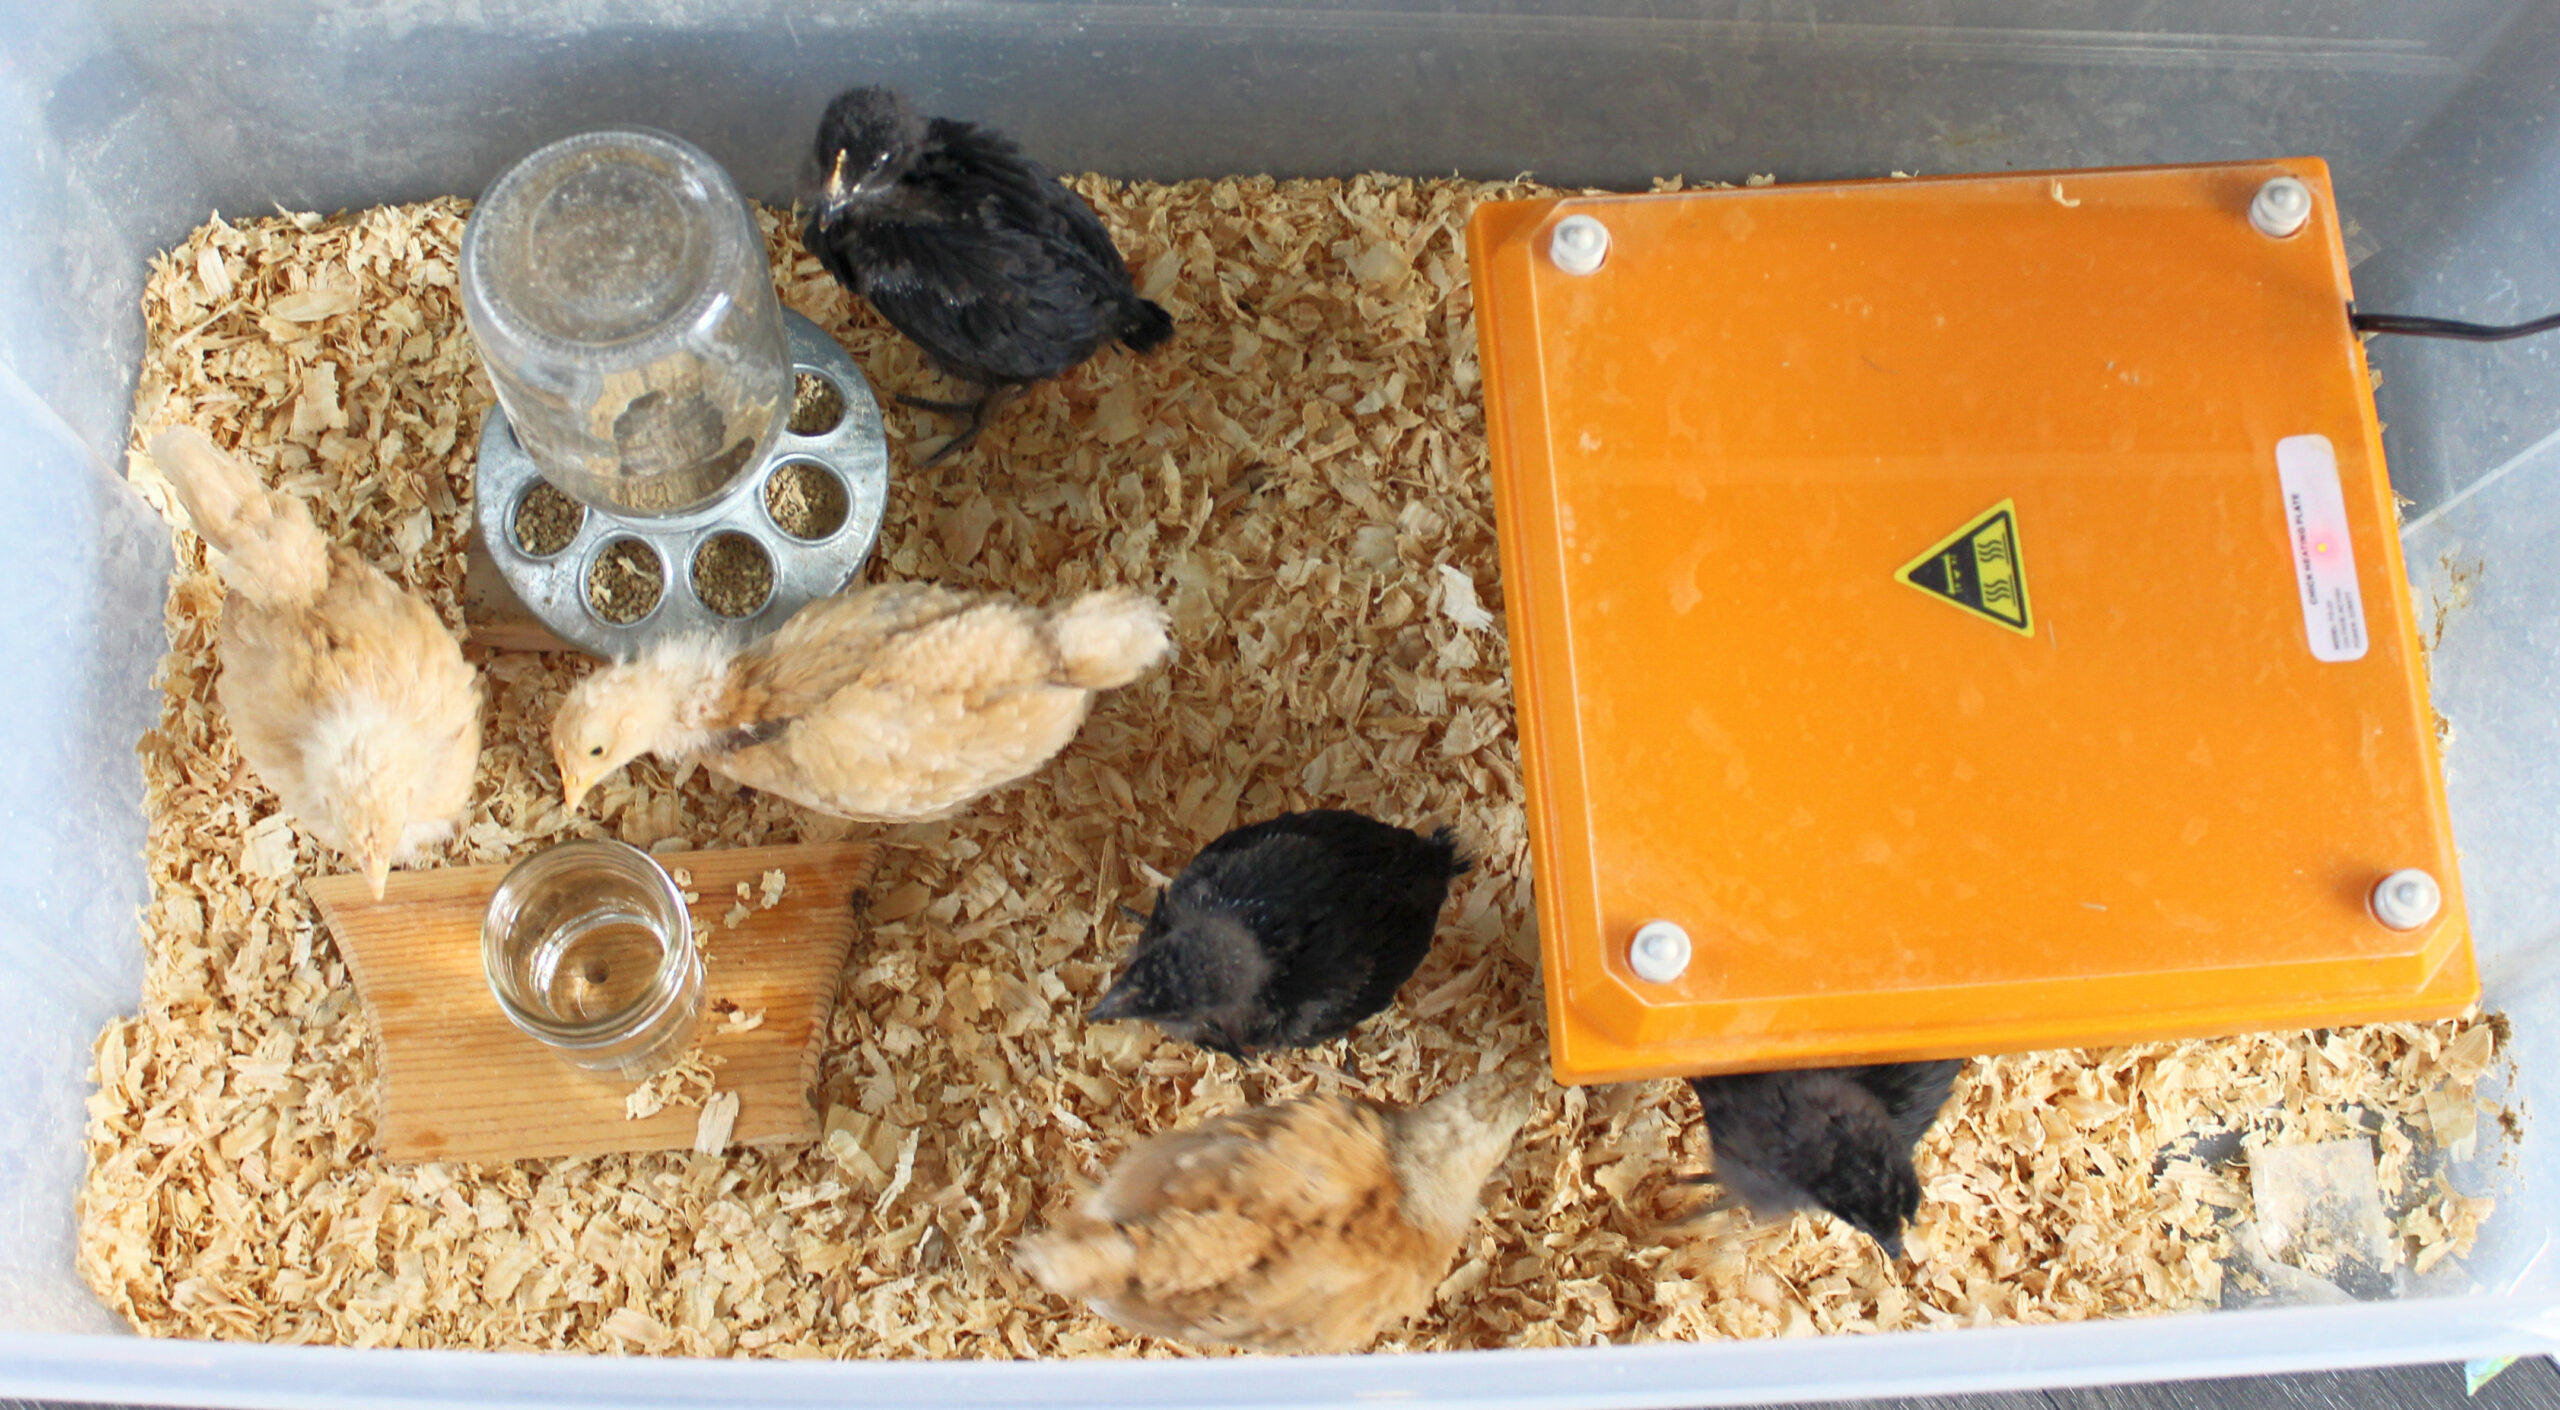
After arriving home I immediately got to work fixing up their brooder. I lined a large bin with paper, set the heater up and also prepared their water and food dishes. I placed the chicks in the brooder and watched them as they quickly found their way to the food and water.
How to Care for New Chicks
Week 1 and Chick Supplies
As an Amazon Associate I earn from qualifying purchases. This means I may earn a commission of the sale without any additional costs to you. Please note that I only recommend tools that I personally use and love. I always have my readers’ best interest at heart.
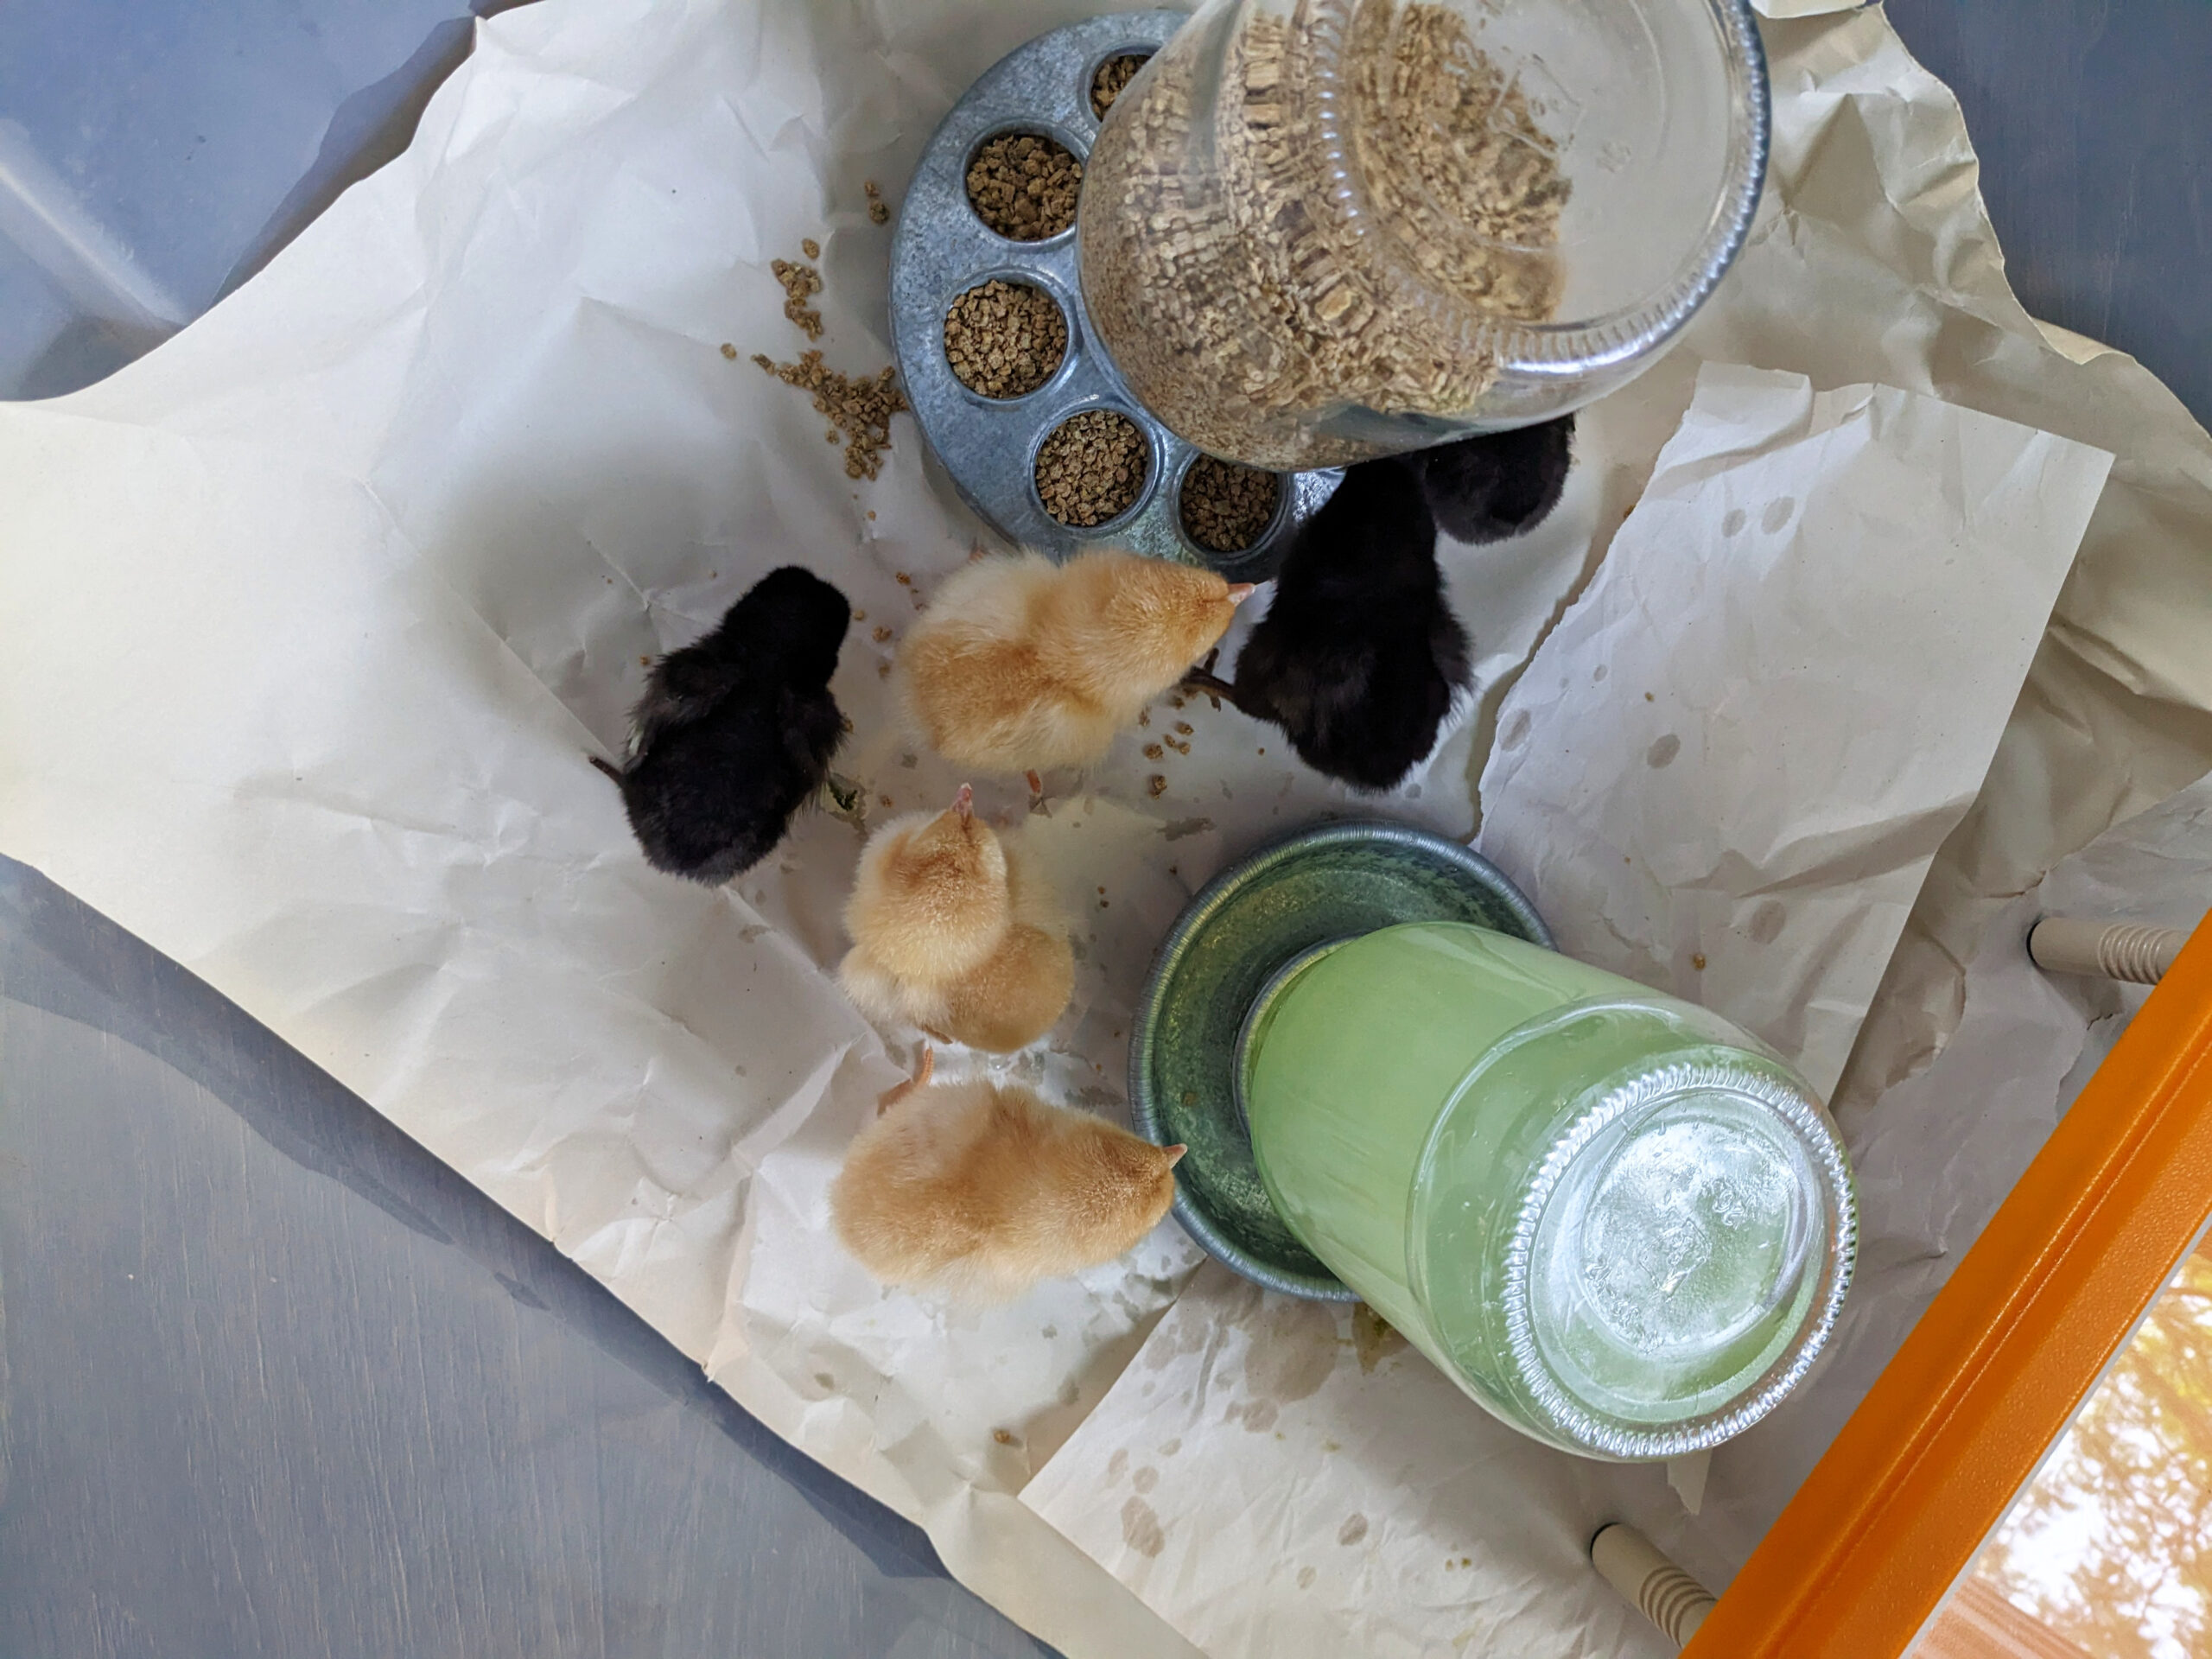
Baby chicks are pretty easy to take care of. As long as you keep the food and water topped off, and the heater up and running, you will have happy chicks. I like to use this chick feeder and this water dish.
I chose to provide the chicks with water mixed with electrolytes this time around. The electrolytes help keep the chicks strong and well nourished/hydrated. We used Quik Chik, which was provided by Murray McMurray Hatchery. I mixed 1/4 tsp of Quik Chik per 4 cups of water and gave this to the chicks for about one week. After that I started giving regular water without electrolytes.
For food I bought a large bag of starter feed for chicks from our local Tractor Supply.
I purchased this brooder heater on Amazon for our heat source. It has been working really well. We are able to adjust the height as the chicks grow, and boy do they grow fast!
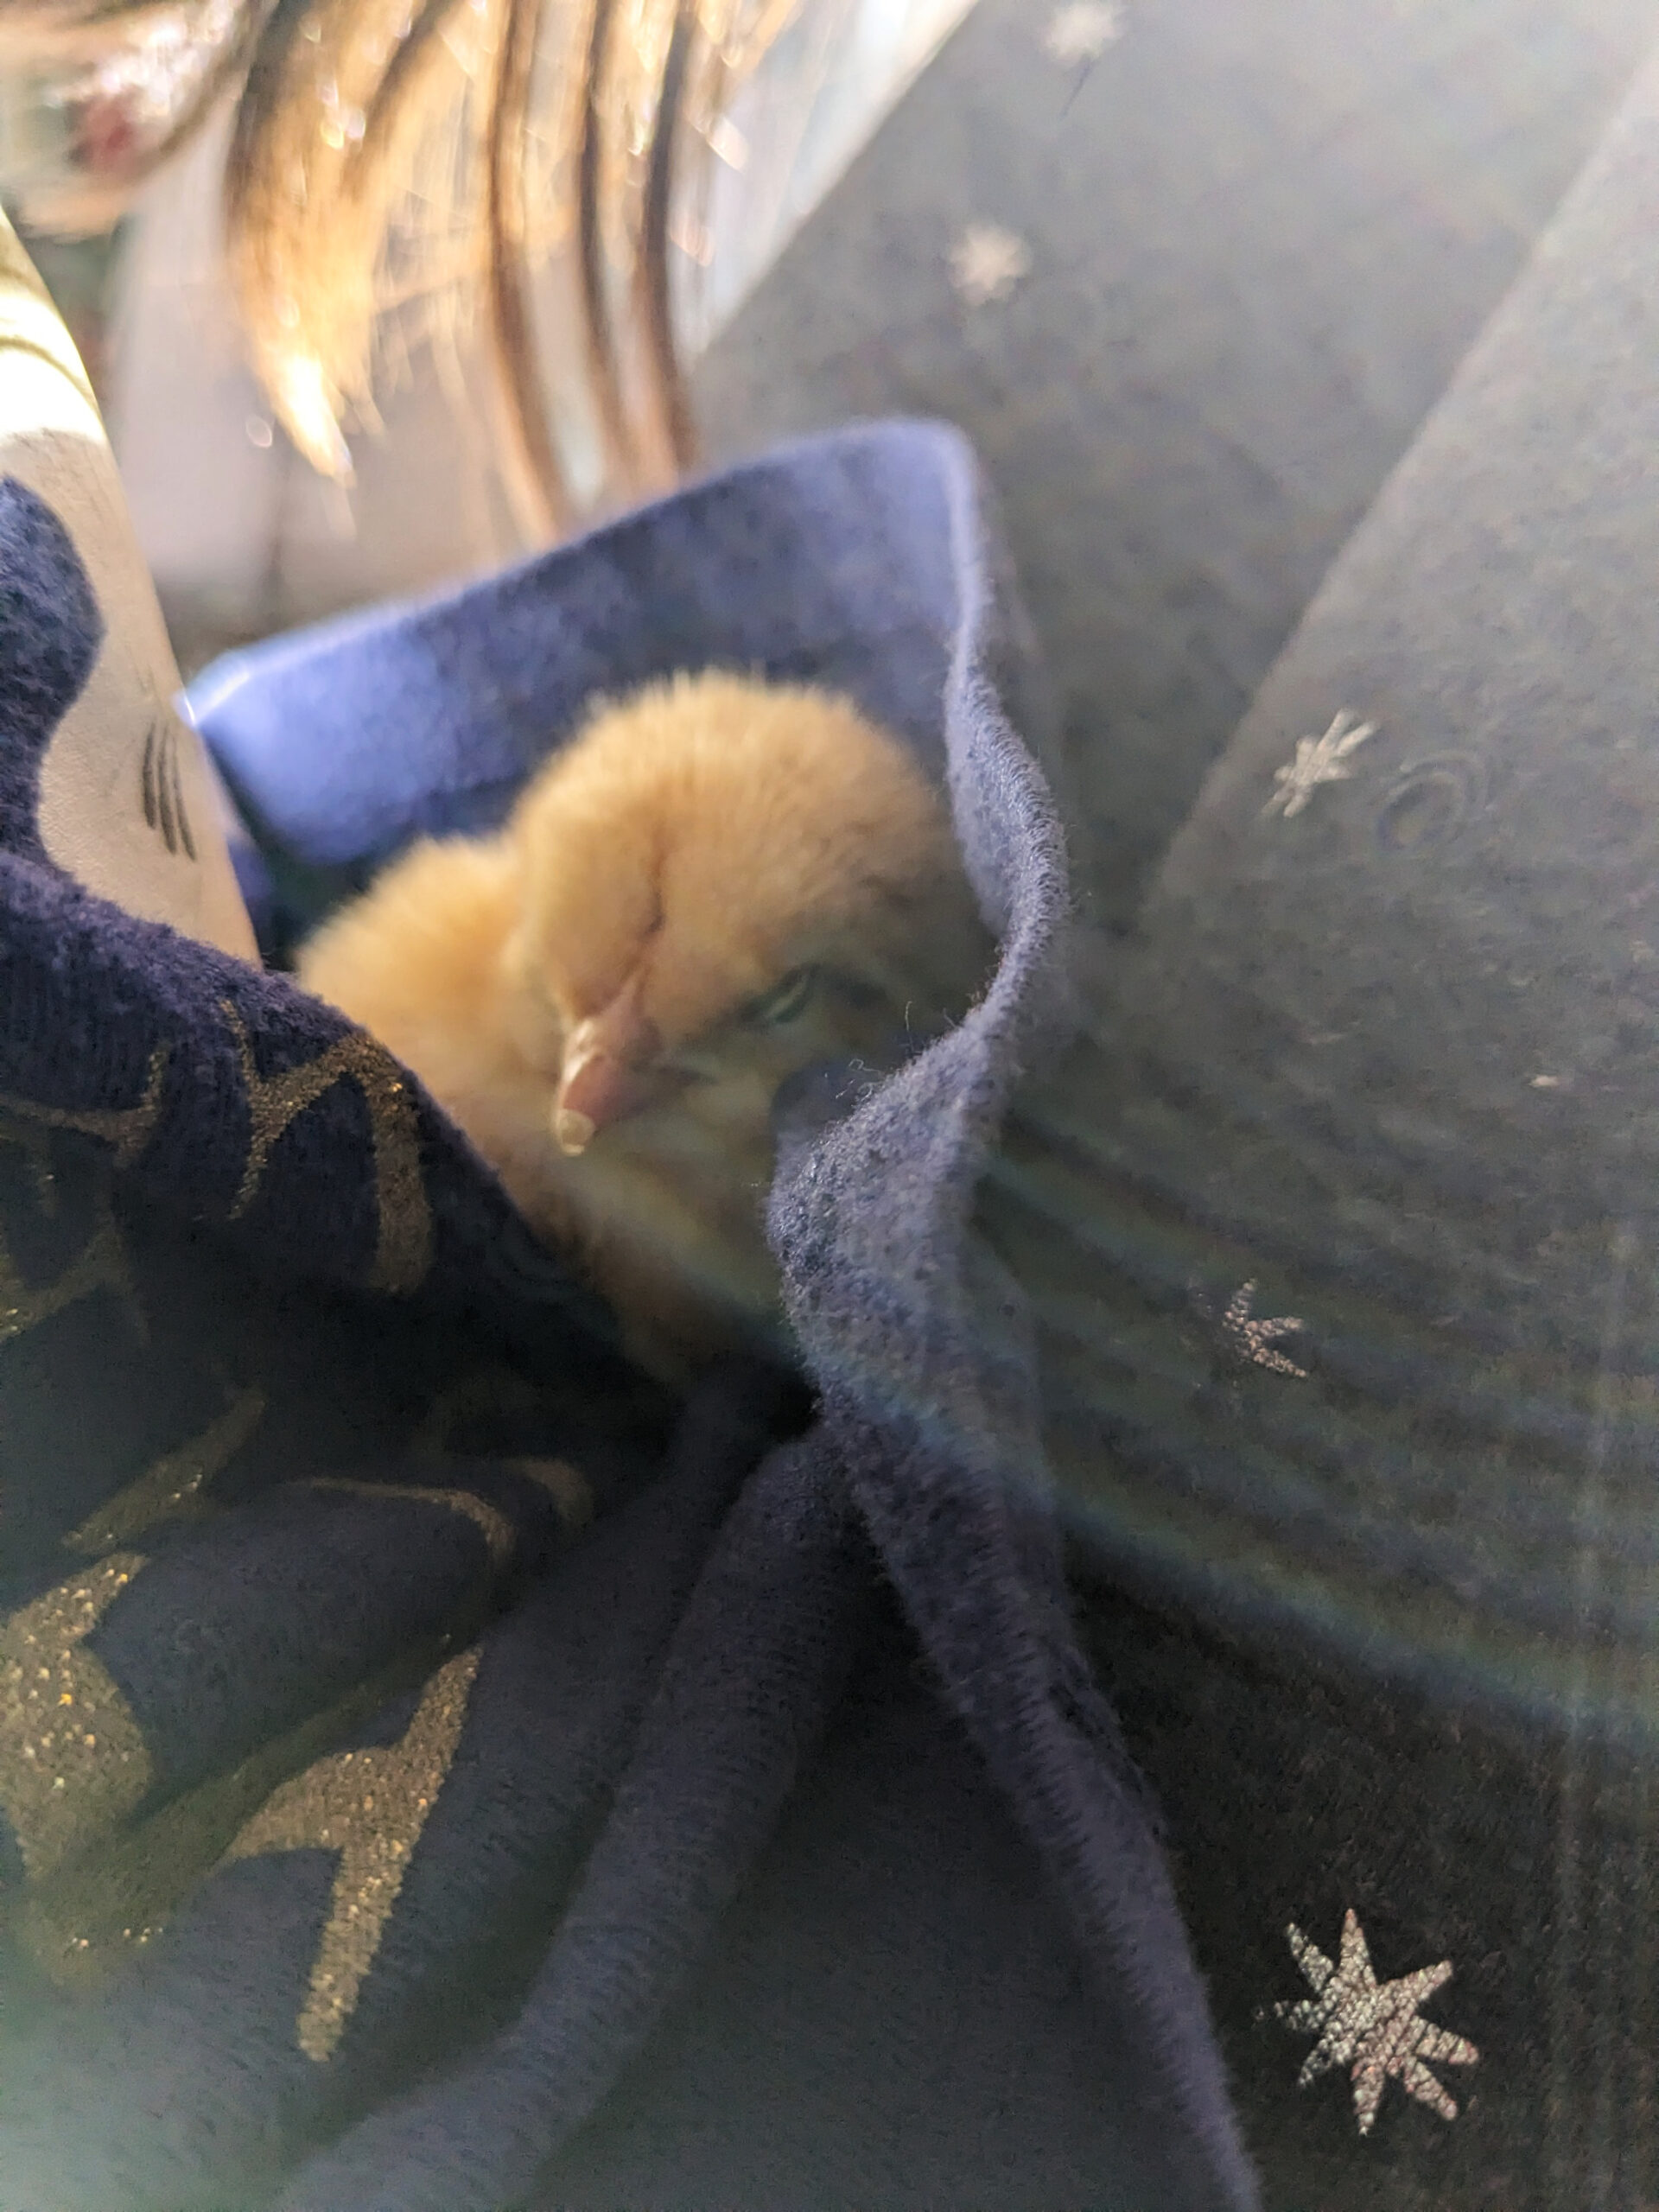
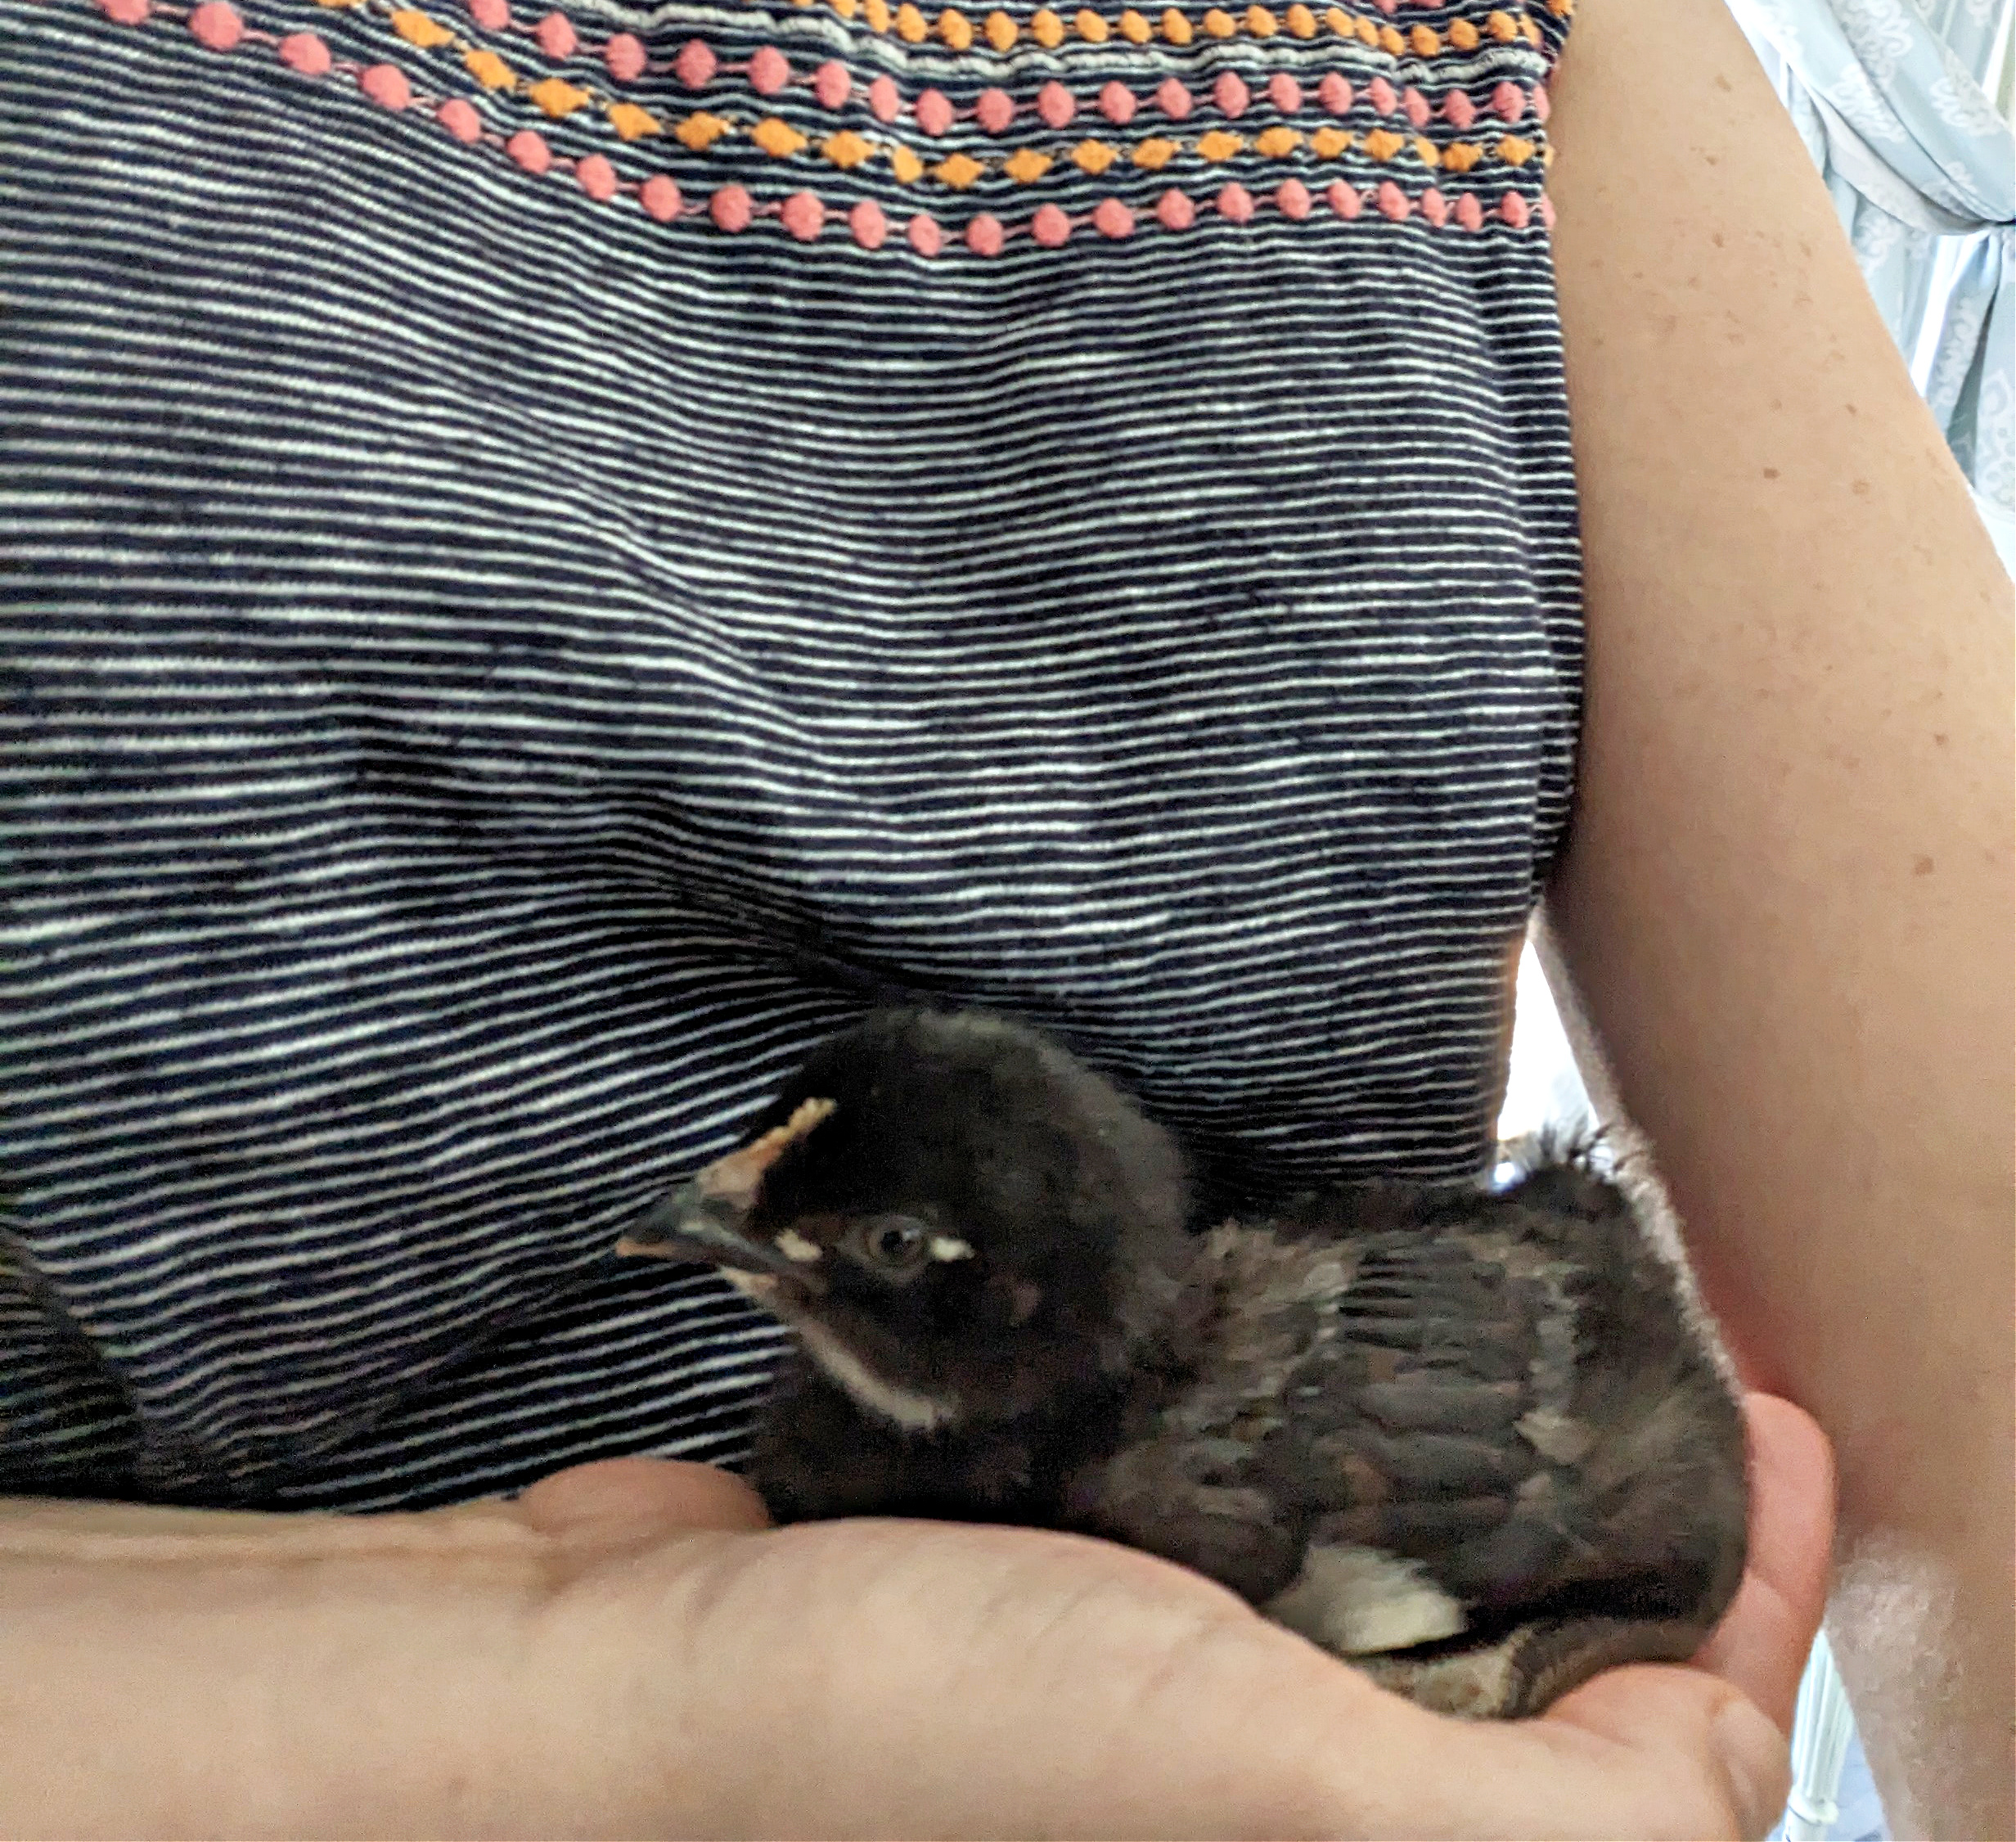
Holding and Snuggling the Chicks
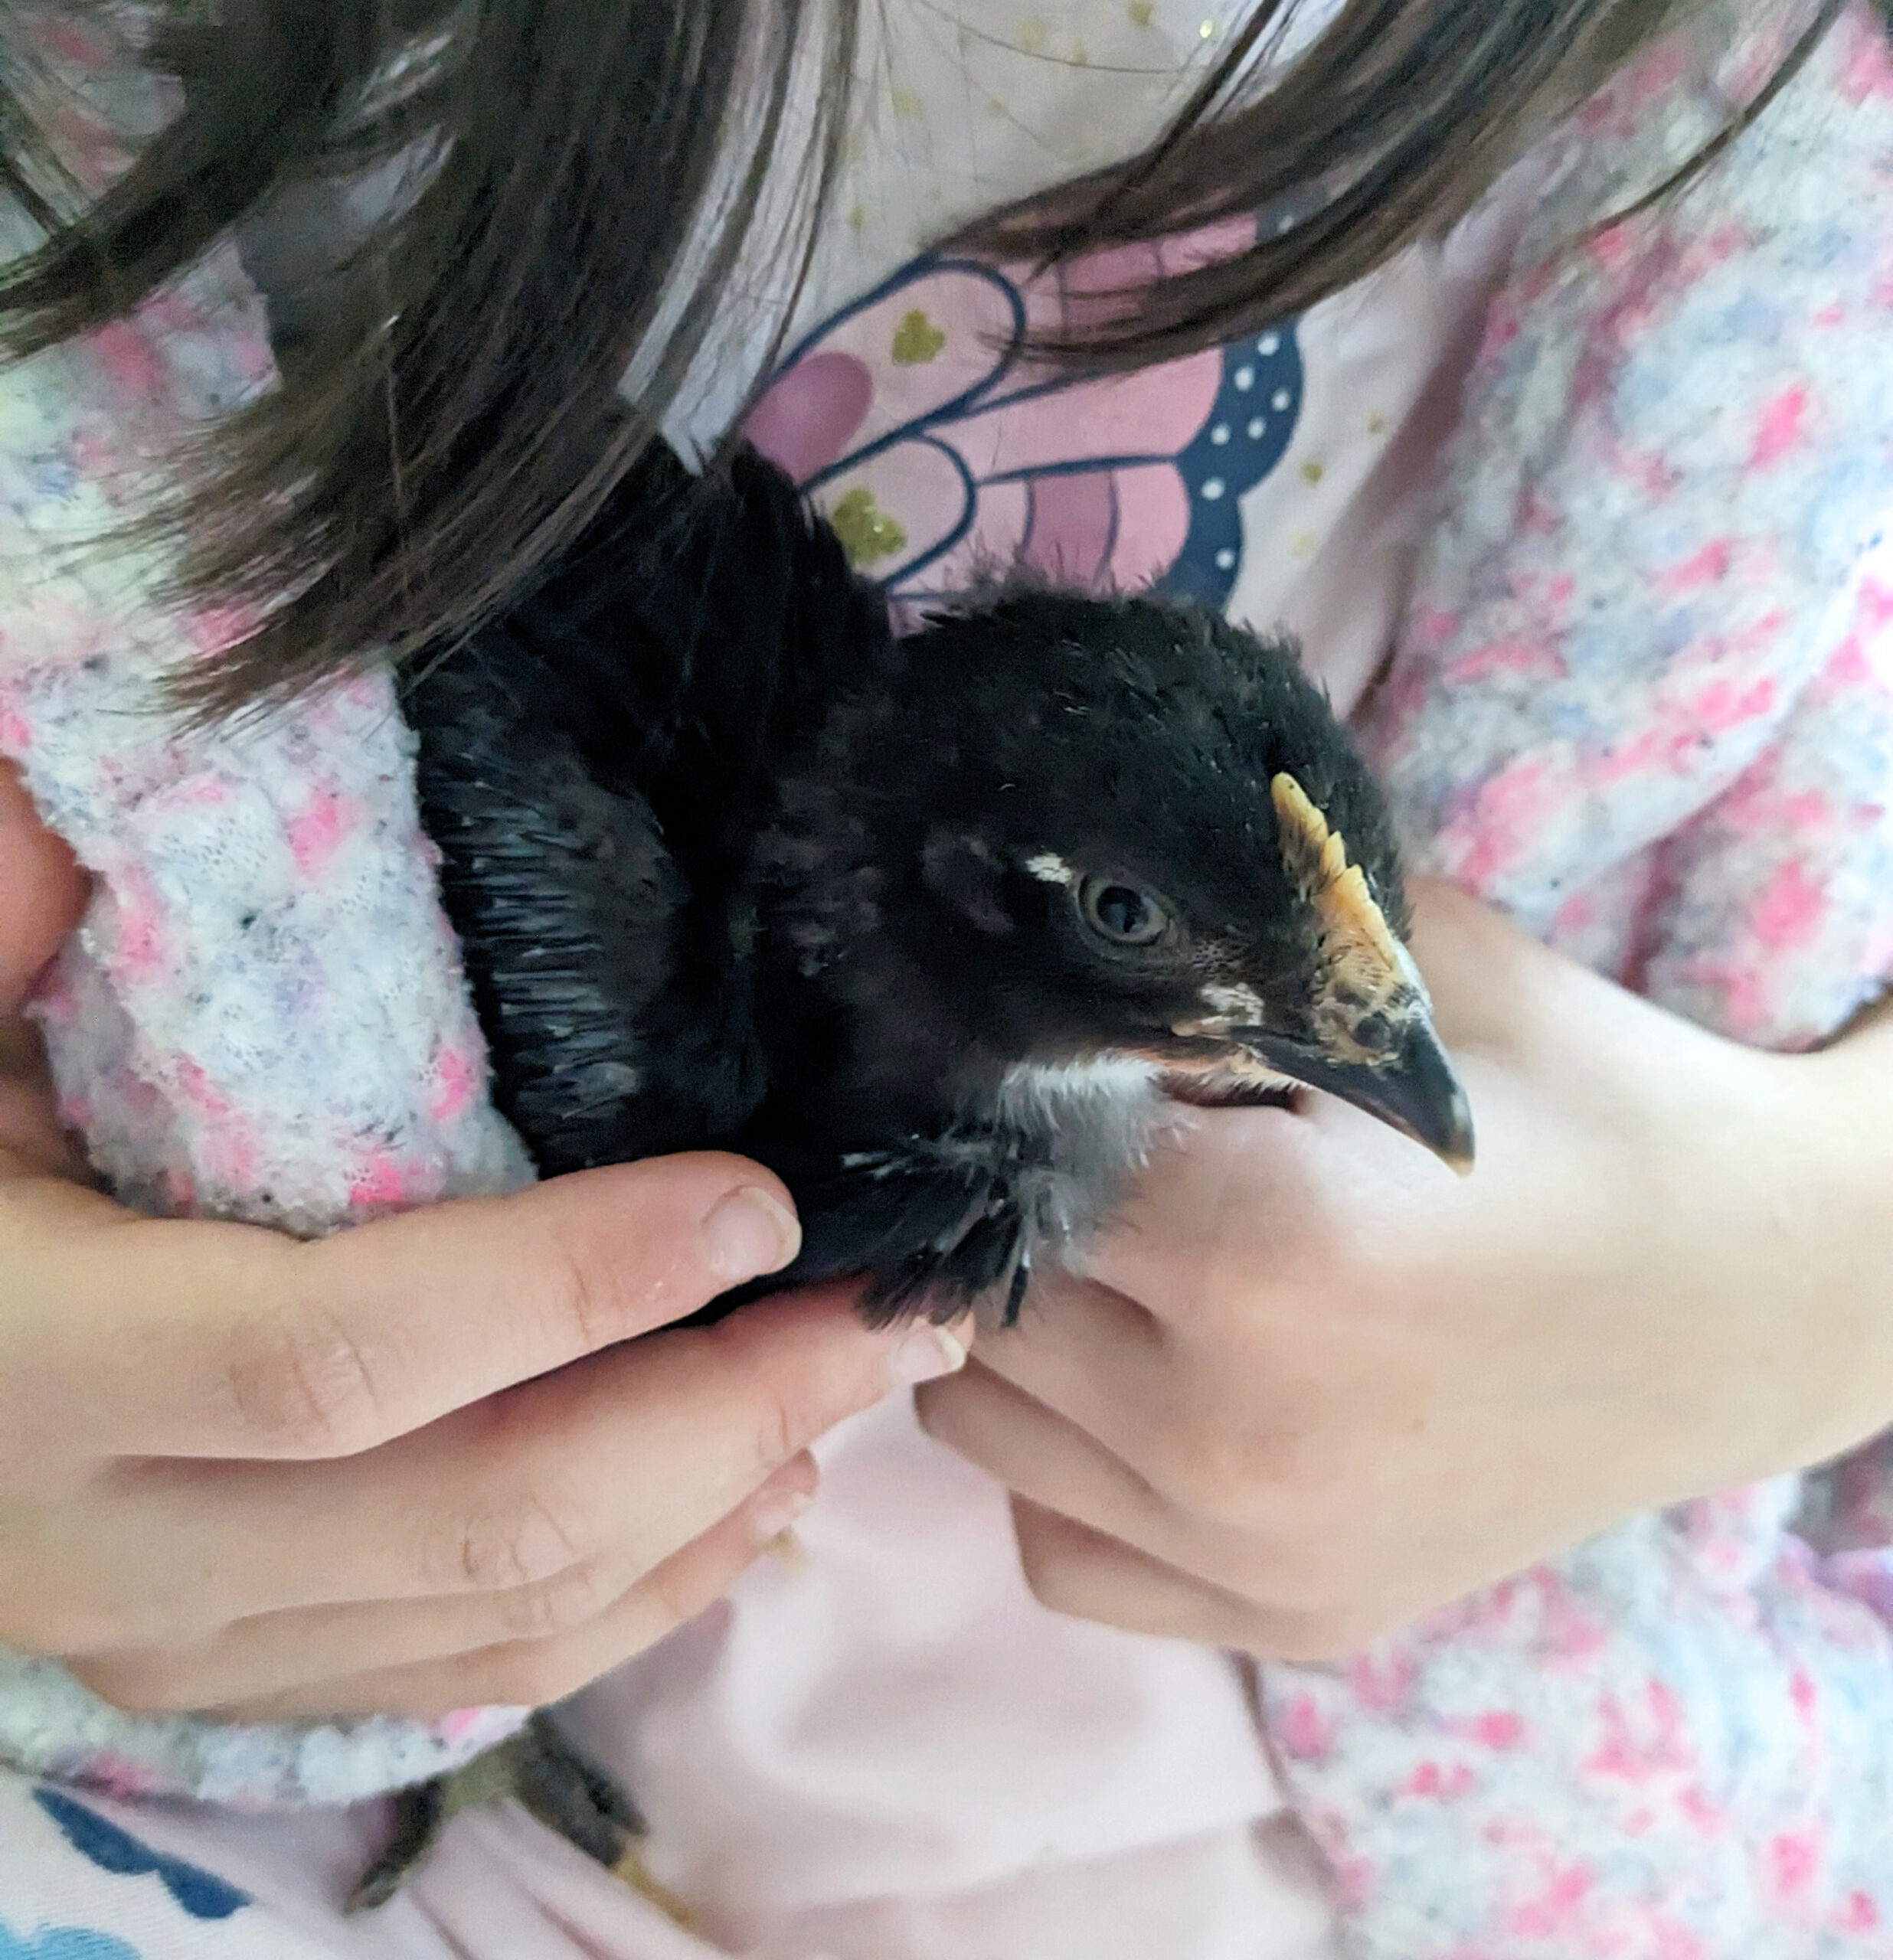
One thing we have been really intentional about this time around with chicks is to handle them often. We really want our chickens to be comfortable with coming to us and being held. With our first flock, I was not as confident as a chicken owner and we were still getting used to handling chickens. Now that we are more comfortable with them, we hope our new chickens will enjoy being around us even more than our last flock was.
You will see a lot of pictures of the chicks being wrapped up in our shirts, snuggled close, held in our hands and also perching on our arms. Of course, snuggling the chicks has gotten more difficult as they have grown so much bigger over such a short period of time! But its been a joy seeing them fall asleep on us and choosing to perch on us.
Week 2
During week two we started to see our chicks grow more feathers on their wings and they started growing tail feathers. The chicks also started to test out their flight ability.
We also noticed that the chicks were becoming more curious. This was a great time to add enrichment activities to the chicks’ brooder. We found a stick from outside that they could perch on. The kids also placed a cardboard cylinder from a paper towel roll in the brooder. These items gave the chicks new things to investigate, climb and also perch on.
As our chick’s legs have become sufficiently stronger we also switched their paper lining for pine shavings. This works A LOT better in terms of keeping the bin cleaner. Instead of a daily clean up we switch the pine shavings out about once a week.
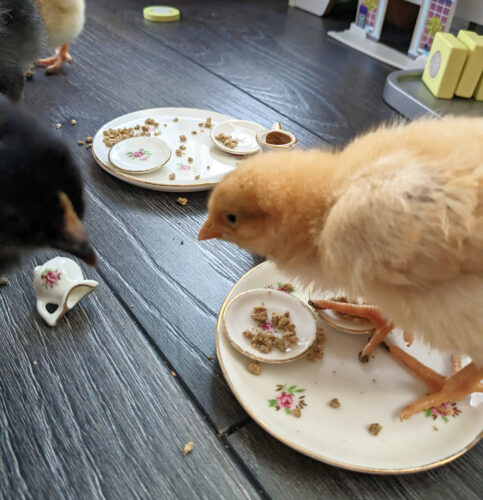
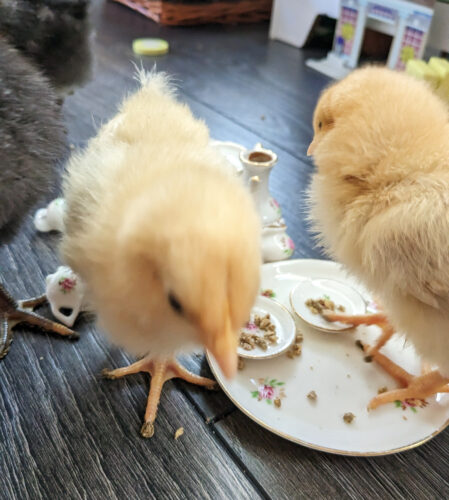
Might I say the kids also provided some playtime for the chicks? One of my daughters set up a “tea party” for the chicks by putting her play tea party dishes out with some chick food on them. Instead of partaking in the event, the chicks decided to crash the tea party. Whereupon we demanded of the chicks, “Where are your manners?” 😀
Week 3
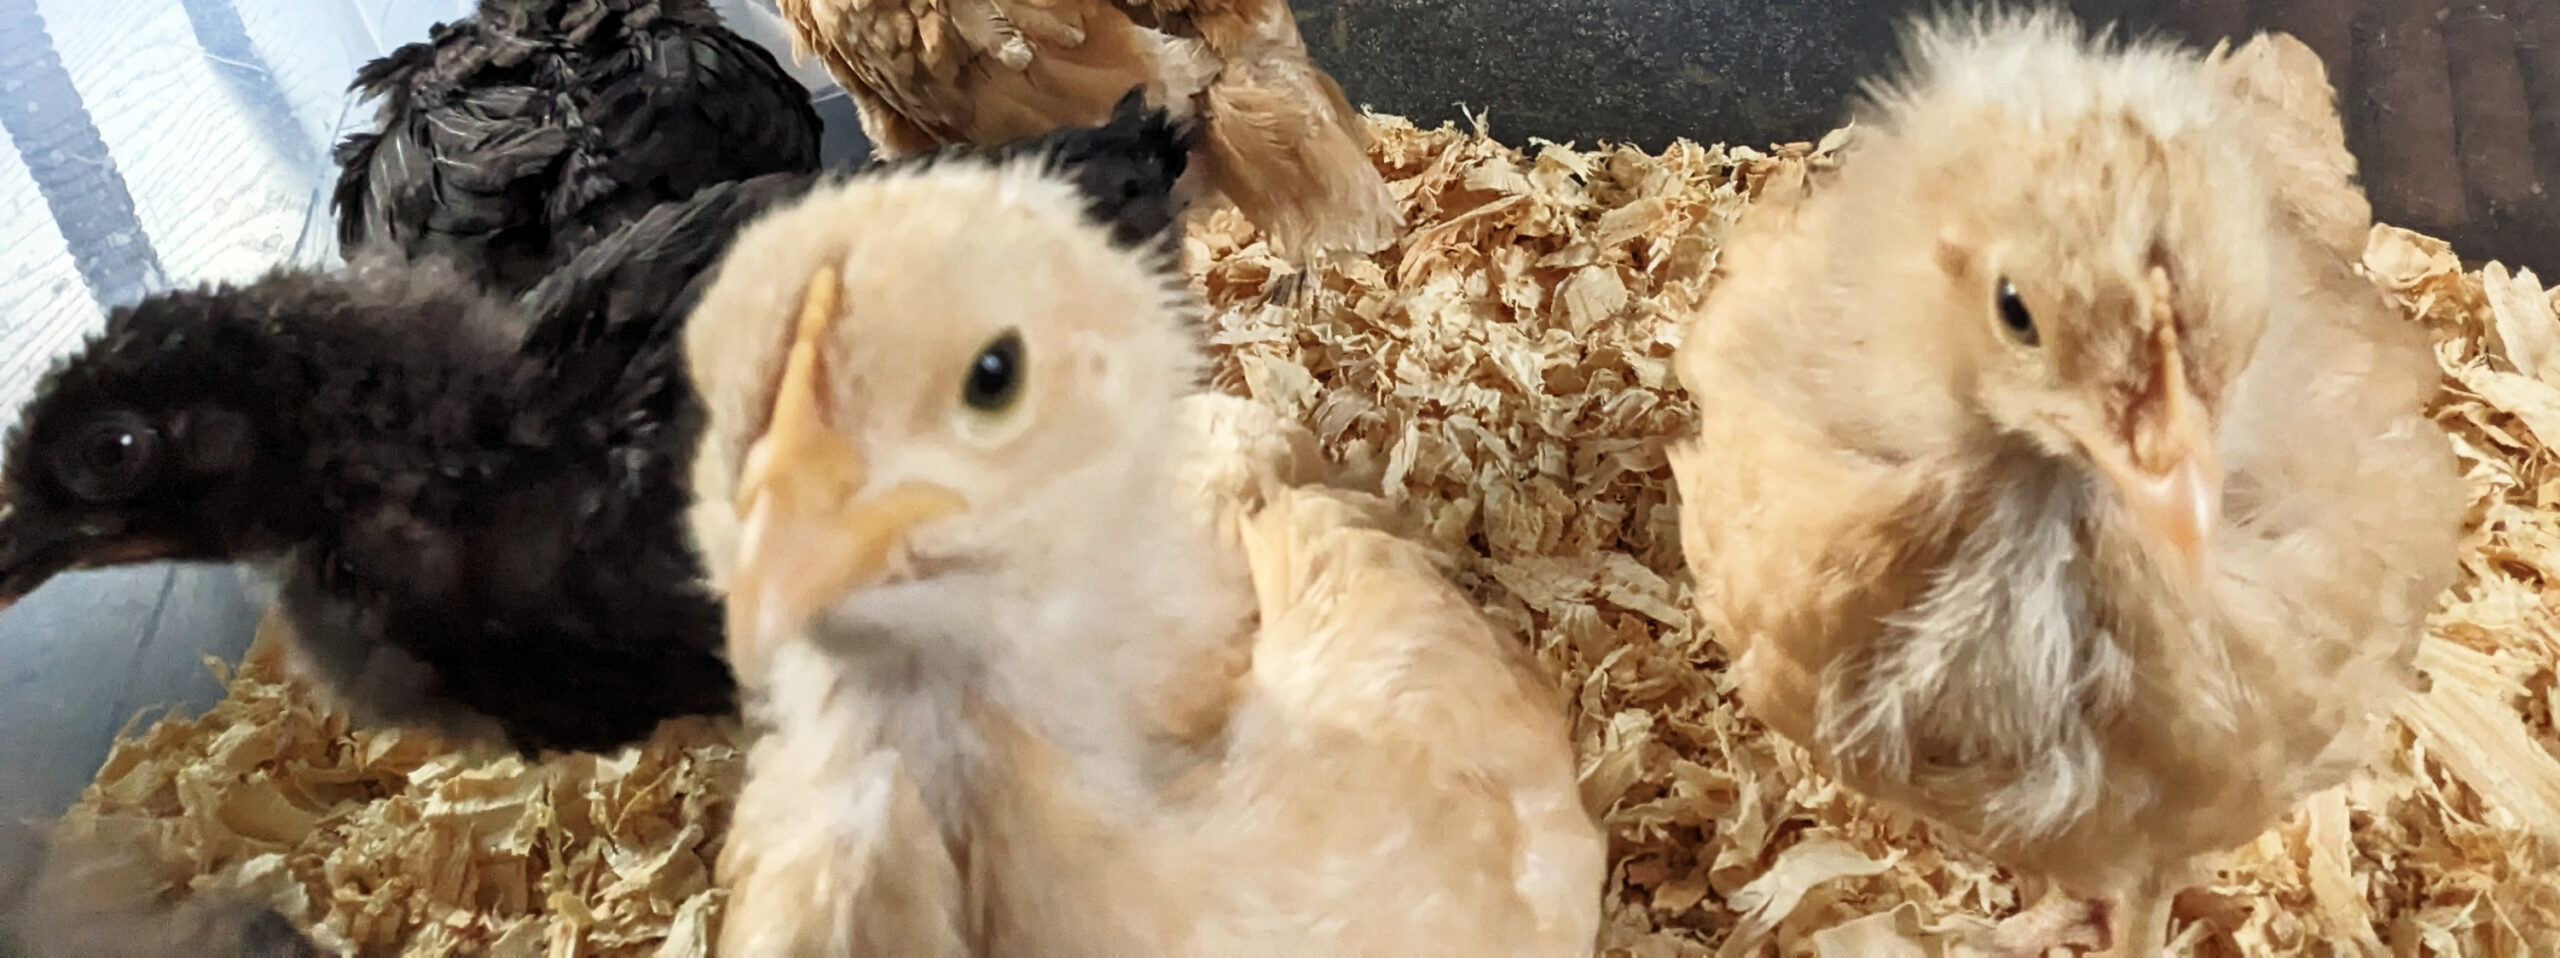
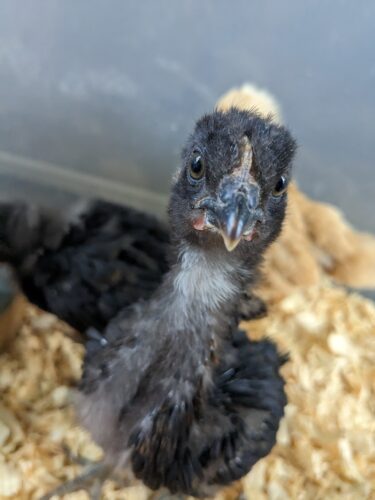
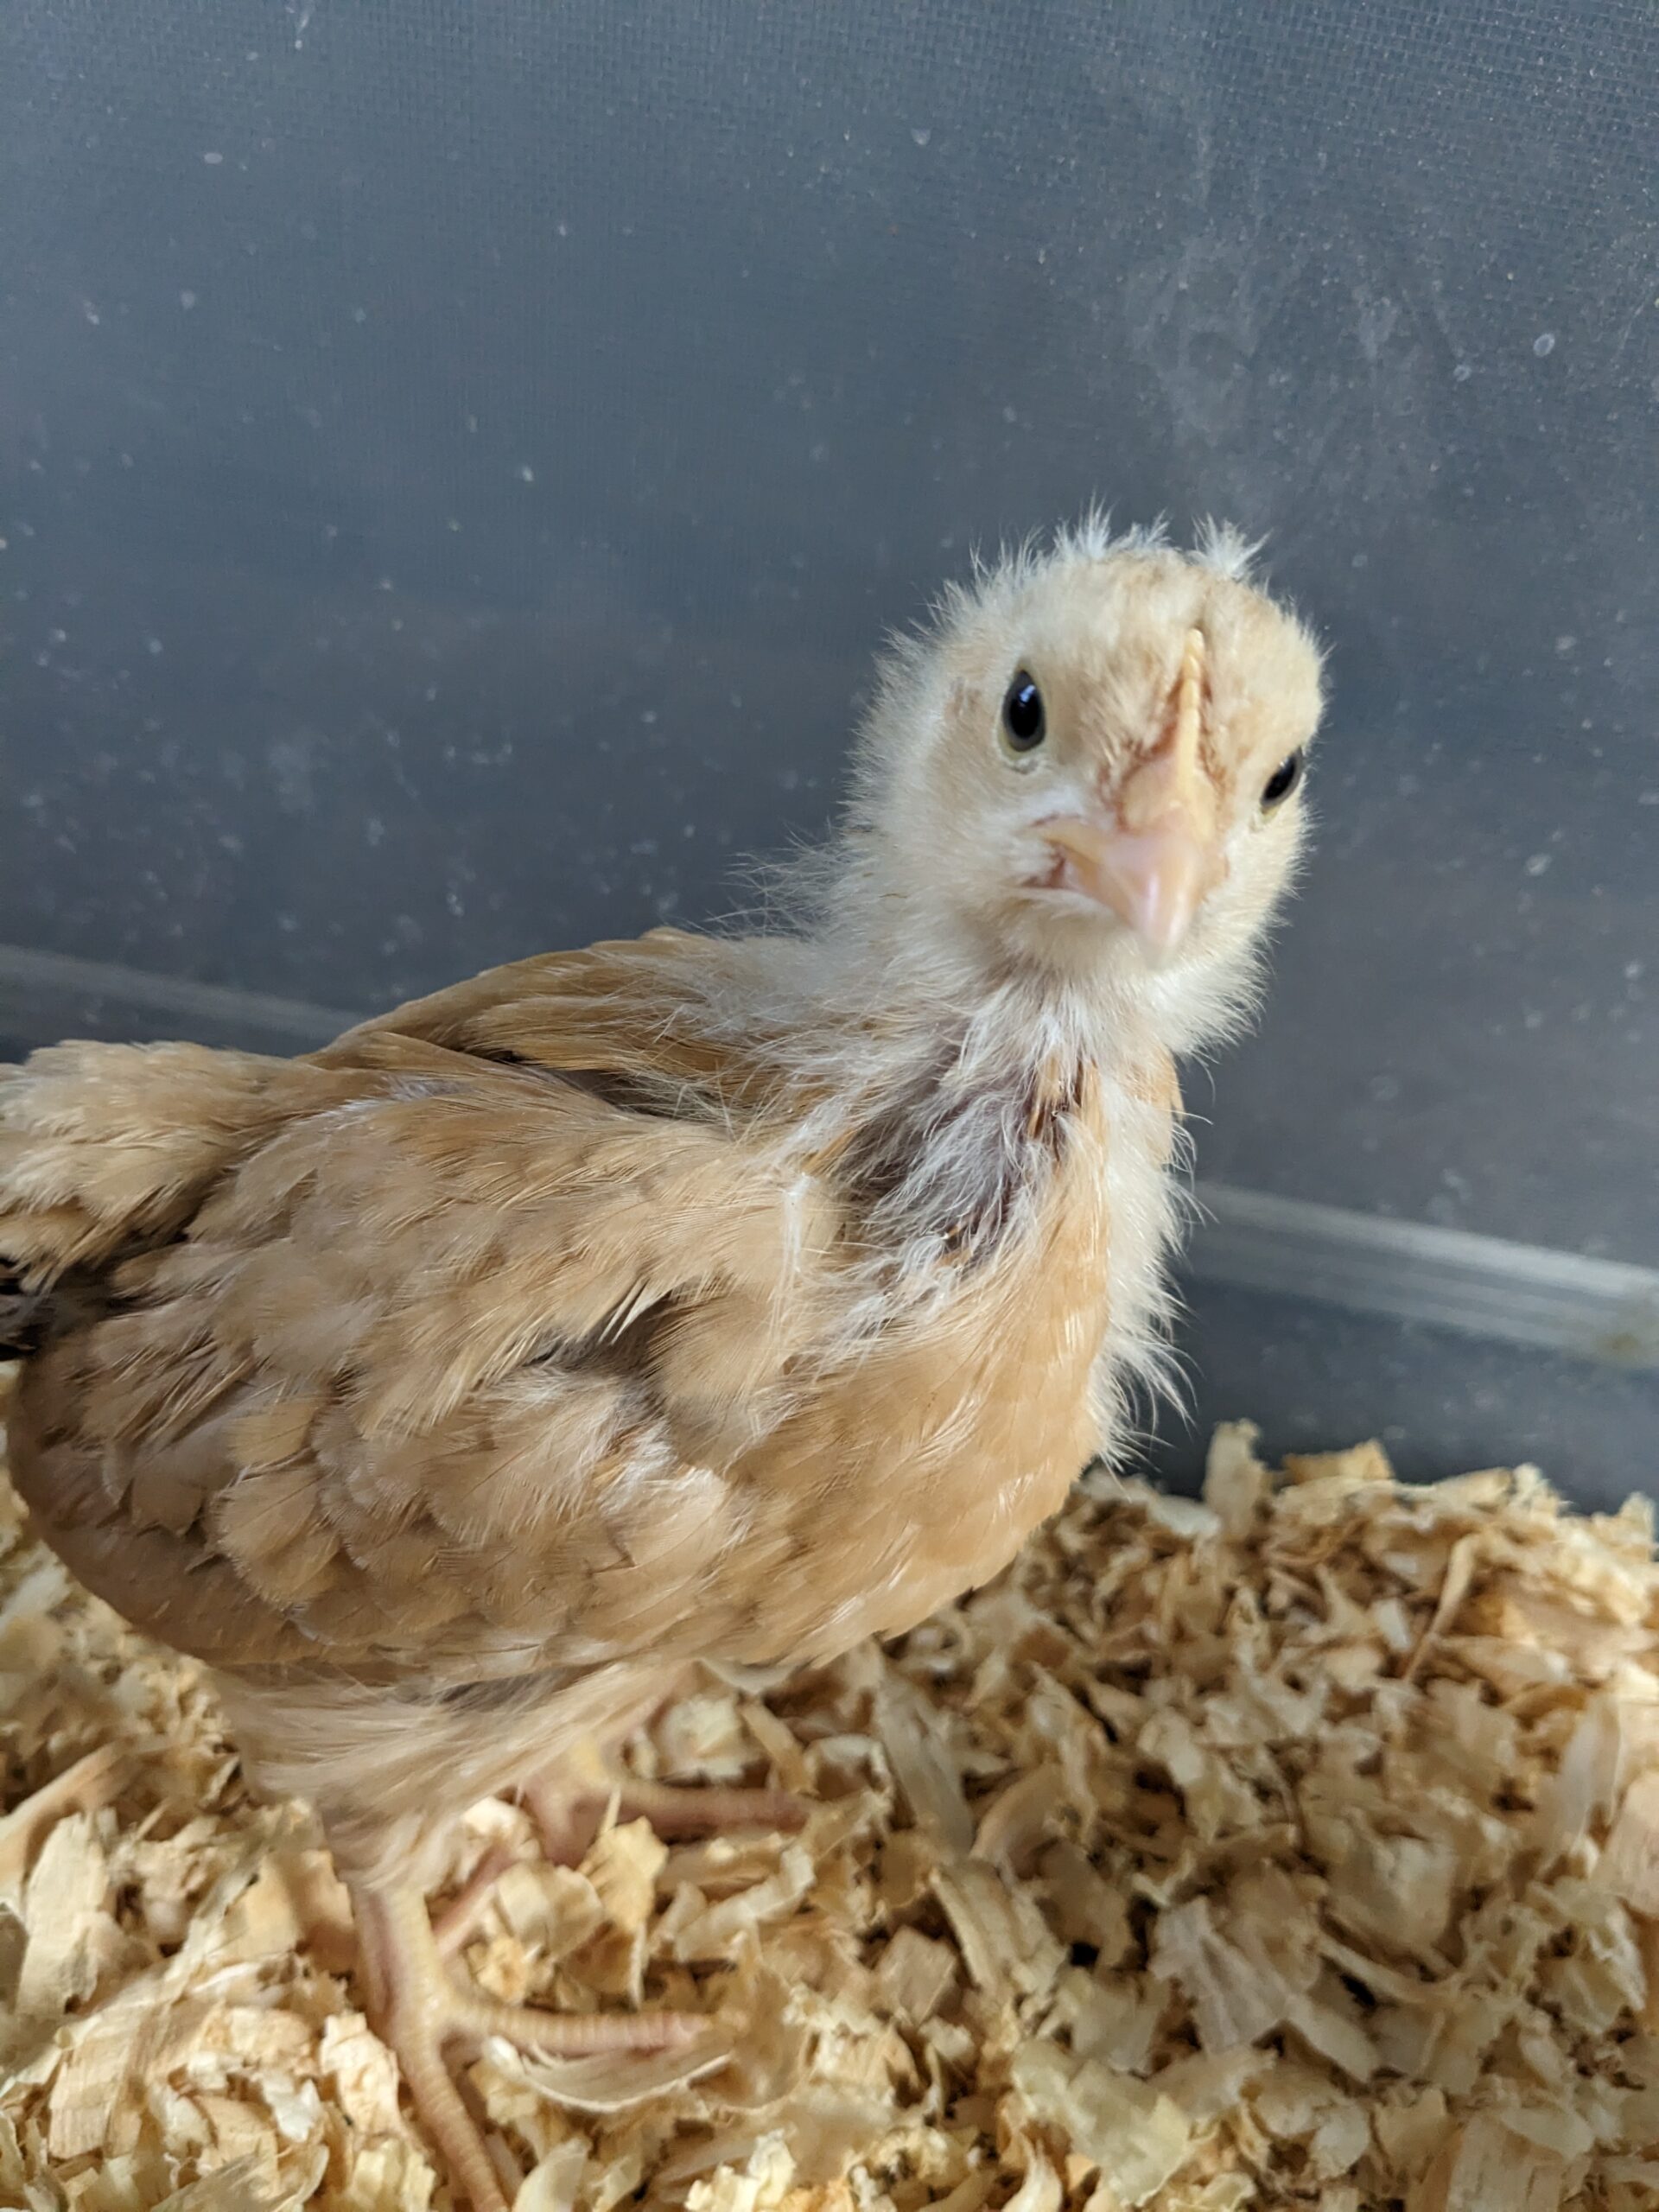
We are currently at week three of raising our new chicks. I liken week three to the pre-teen years of a chicken. They are more feathered out, their legs are getting both longer and stronger, and the chicks have stronger opinions on things.
Thankfully our chickens are all doing really well. I am thankful for our new chicks and the joy that they are bringing us!
Challenges We’ve Worked Through
Raising baby chicks is pretty straight forward but sometimes you do find yourself facing a challenge. Last time we raised chicks we had to deal with pasty butt for our two Wyandotte chicks. Pasty butt is when chick poop dries on the chick’s bottom and the chick is no longer able to poop. This can kill a chick. When I realized this was happening I soaked the chicks’ bottoms in warm water and worked the dried poop off gently. It was not a fun task and the chicks do not like being placed in water; I imagine it was a little frightening to them.
This time we had a new issue arise. All of the chicks developed dried dung balls on their toes. These develop when the chicks step in their poop and it dries on their feet. I found myself soaking the chicks’ feet in warm water (I never found a Barbie swimming pool more helpful). This task was actually a lot more difficult to resolve than the pasty butt. The dung balls were not quick to soften and we had to pry them off with our fingers. This was especially uncomfortable for the chicks. Thankfully, switching from paper lining to pine shavings has helped prevent this from recurring.
What’s Next
As soon as the chicks feather out completely, we will be able to move them outside into a coop. We are working on building our own chicken coop from scratch for our new flock and so far it is looking amazing. My husband is doing the bulk of the work and I am really impressed with what he’s done so far. Our new coop is made with cedar and will provide more space vertically for our chickens. It will also be a lot sturdier and easier to access for cleaning. As soon as that is done and ready I’ll be sure to share more on that.
In the mean time, we will be over here enjoying our baby chicks and watching them grow. Thank you for reading along about our baby chicks and their first few weeks.
Oh and in case you were wondering, we don’t have names for all of our chicks yet. At this point it is still difficult to tell them apart. I have only named one of the Black Star chicks as she has some unique white marks by her eyes and neck. She has also been the most friendly and readily snuggled chick in the flock. I will be sure to keep you updated on the chicks names as well!
Great Blog
<3